
Login with Passkeys in Next.js
What are passkeys?
Passkeys are a replacement for passwords when signing in, providing higher security, ease-of-use, and loss-protection.
They let users sign in to apps and sites the same way they unlock their devices: with a fingerprint, a face scan or a screen lock PIN.
All you would need is a phone , computer / a laptop.
In this blog post, we will implement passkey authentication, using hanko service, within the Pokedex app which we built in the previous blog post.
We will be using the Hanko library
Let's understand how it works.
When a user visits the app, they interact with the custom made HankoAuth component using Hanko library. We will place it in the '/login' route. You can install the library using this snippet :
yarn add @teamhanko/hanko-elementsHankoAuth
"use client";

import { useEffect, useCallback, useState } from "react";
import { useRouter } from "next/navigation";
import { register, Hanko } from "@teamhanko/hanko-elements";

const hankoAPI = process.env.NEXT_PUBLIC_HANKO_API_URL || "";

export default function HankoAuth() {
  const router = useRouter();

  const [hanko, setHanko] = useState<Hanko>();

  useEffect(() => {
    import("@teamhanko/hanko-elements").then(({ Hanko }) => {
      setHanko(new Hanko(hankoAPI));
    });
  }, []);

  const redirectAfterLogin = useCallback(() => {
    router.replace("/suspense");
  }, [router]);

  useEffect(
    () =>
      hanko?.onAuthFlowCompleted(() => {
        redirectAfterLogin();
      }),
    [hanko, redirectAfterLogin]
  );

  useEffect(() => {
    register(hankoAPI).catch((err) => {
      console.error(err);
    });
  }, []);

  return <hanko-auth />;
}
This component initializes a new Hanko instance and sets up event handlers for the authentication flow.
Here, the register function is called inside a useEffect hook with an empty dependency array. This ensures that the function is only called once when the component is first mounted.
The register function from the '@teamhanko/hanko-elements' package takes the Hanko API URL as an argument and registers the custom elements hanko-auth, with the browser's custom element registry. These elements are then available to be used in the component's JSX.
Once the user successfully authenticates, Hanko generates a JWT (JSON Web Token) that represents the user's session and stores it in a cookie named "hanko". The onAuthFlowCompleted event handler then redirects the user to the "/suspense" route.
Quick initiation :
For the API url, you will need to create an account on Hanko.io, initiate a project and copy the API URL
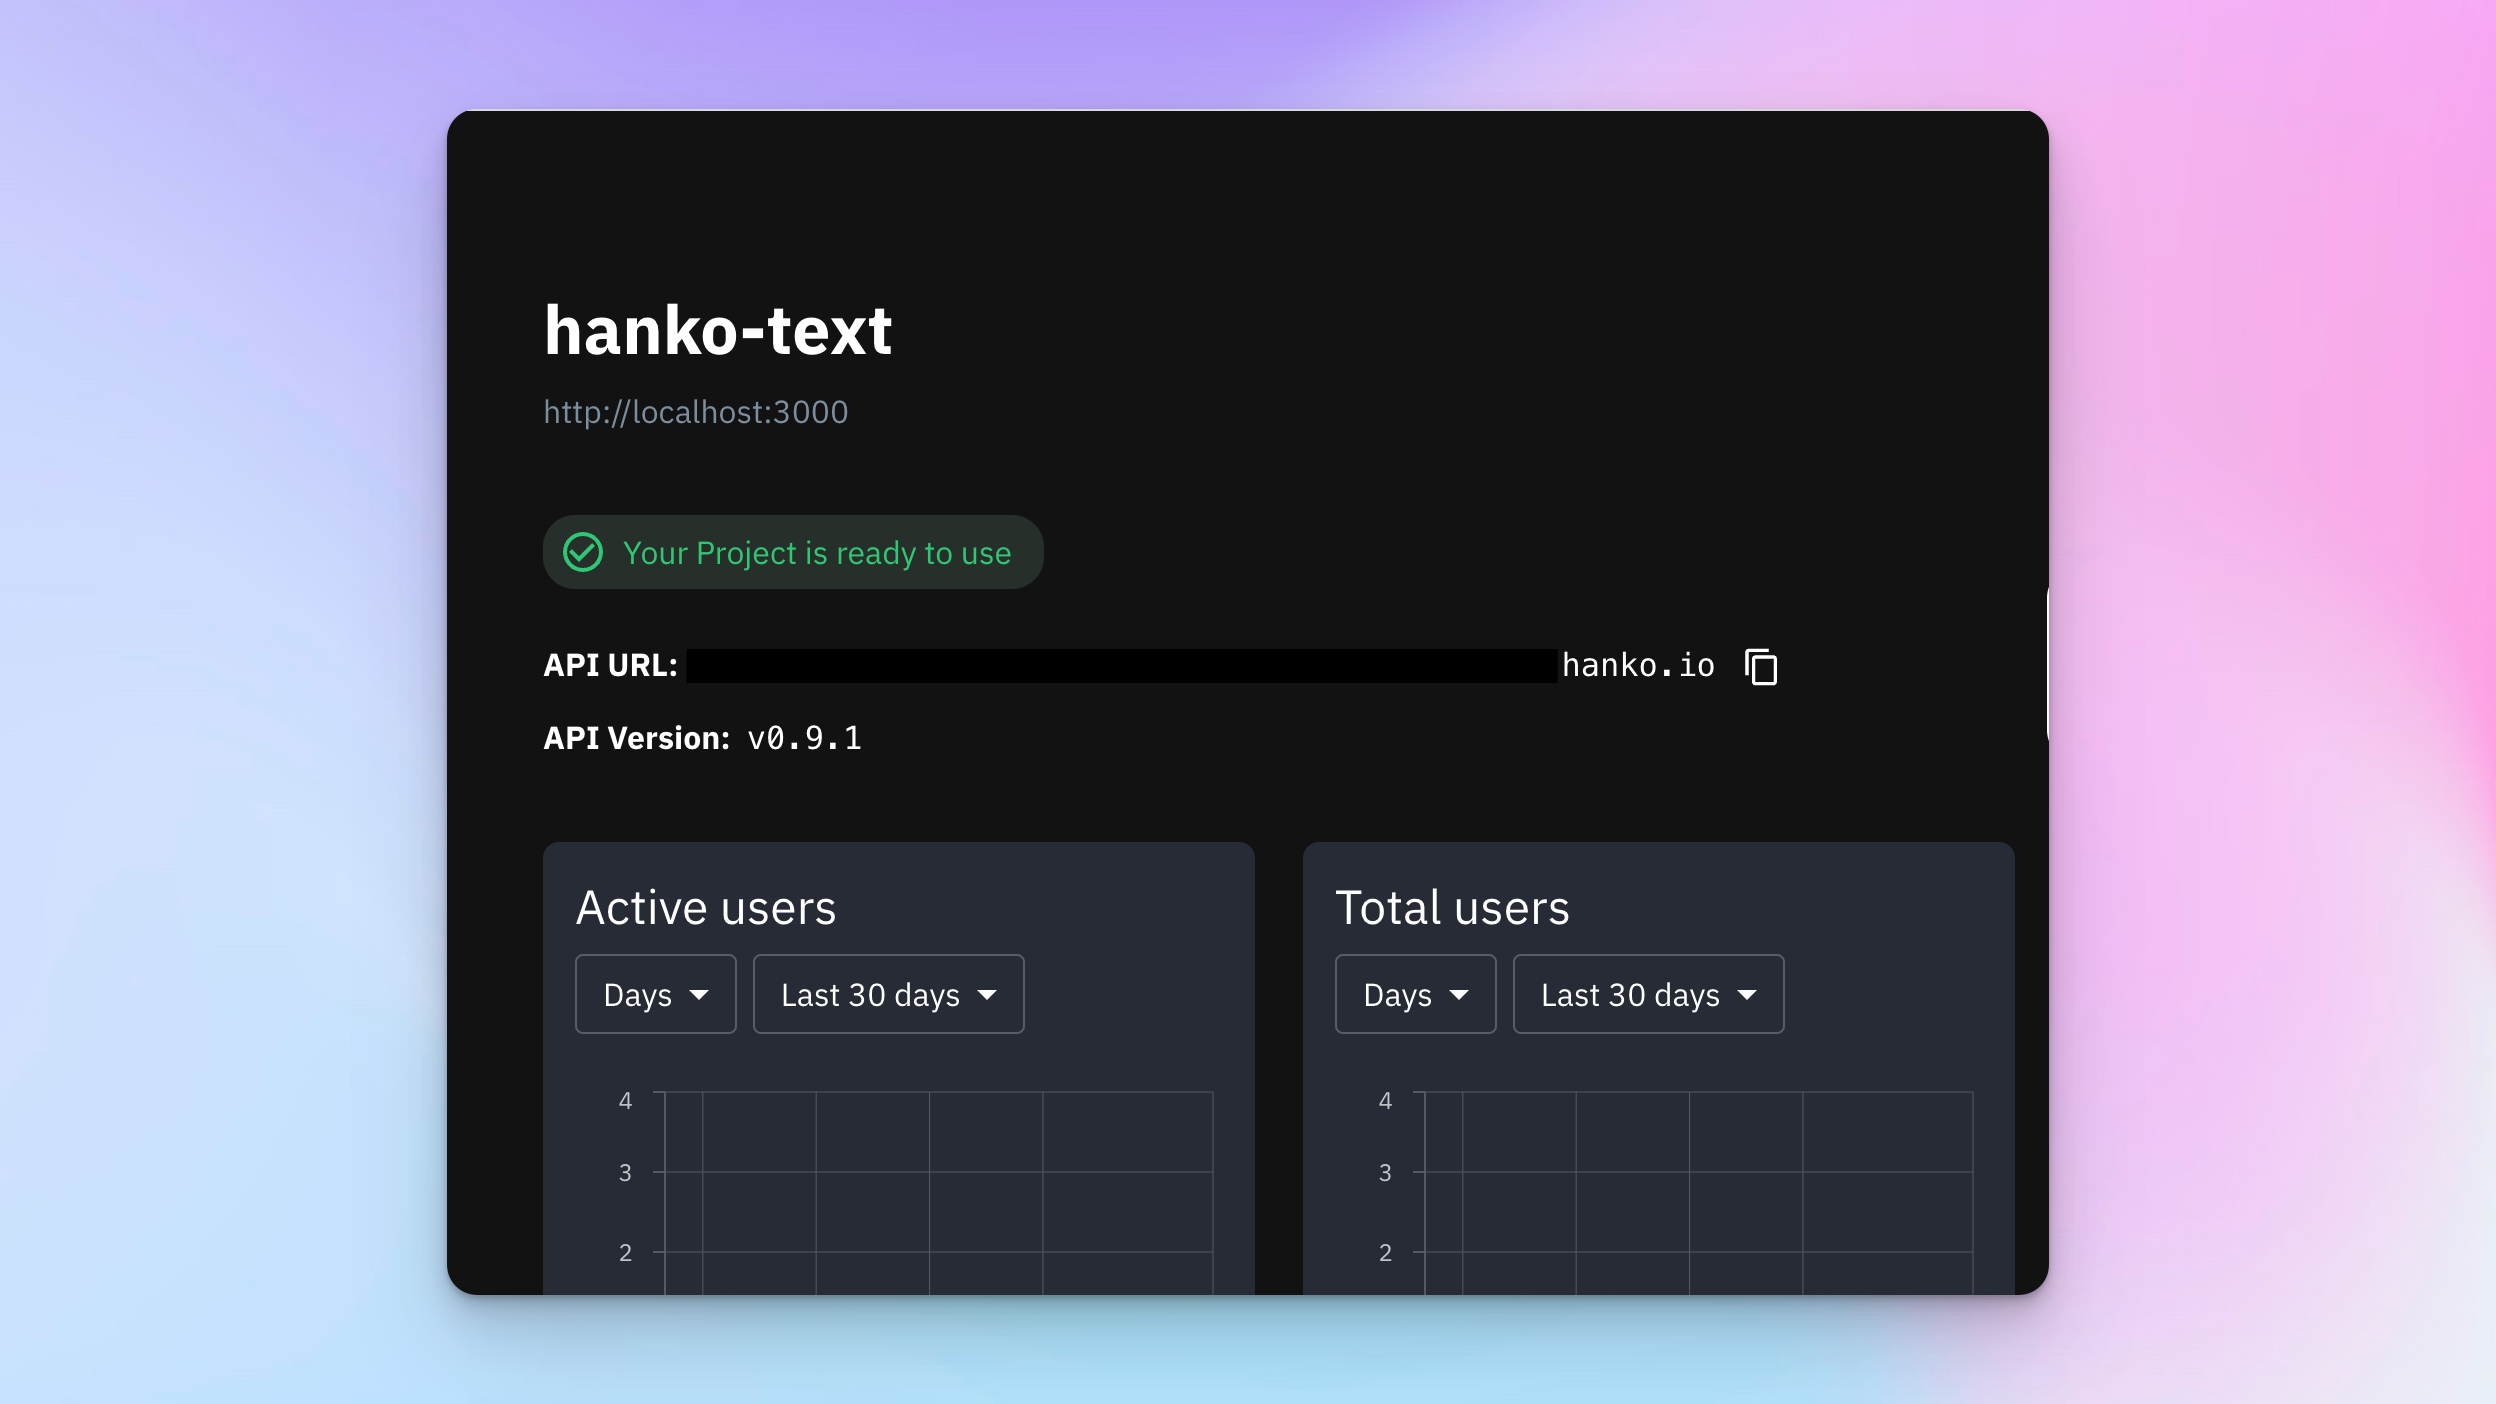
Then paste it in the .env.local of your Nextjs project.
NEXT_PUBLIC_HANKO_API_URL=https://f4****-4802-49ad-8e0b-3d3****ab32.hanko.ioMiddleware
Middleware takes care of the server side part of the authentication flow.
Create a file with the name middleware.ts and use the below snippet :
import { NextResponse, NextRequest } from "next/server";
import { jwtVerify, createRemoteJWKSet } from "jose";

const hankoAPI = process.env.NEXT_PUBLIC_HANKO_API_URL || "";

export async function middleware(req: NextRequest) {
  const hanko = req.cookies.get("hanko")?.value;

  const JWKS = createRemoteJWKSet(new URL(`${hankoAPI}/.well-known/jwks.json`));

  try {
    const verifiedJWT = await jwtVerify(hanko ?? "", JWKS);
  } catch (error) {
    console.log(error);
    return NextResponse.redirect(new URL("/login", req.url));
  }
}

export const config = {
  matcher: ["/suspense"],
};
When the user's browser makes a request to the "/suspense" route, the middleware function is invoked. This function retrieves the "hanko" cookie from the request, which contains the JWT. It then verifies the JWT using a remote JSON Web Key Set (JWKS).
If the JWT is valid, the request is allowed to proceed. If the JWT is not valid, the user is redirected to the "/login" route.
In summary, HankoAuth.tsx handles the client-side part of the authentication flow, while middleware.ts handles the server-side part.
They work together to ensure that only authenticated users can access certain routes in the application.
HankoLogout
For logging out, you can create a Logout Button and make use of an async function 'logout', that calls the logout method on the hanko instance. This method sends a request to the Hanko API to invalidate the user's session.
If the logout request is successful, the user is redirected to the "/login" route and the page is refreshed. This ensures that any user-specific data is cleared from the page.
"use client";

import { useState, useEffect } from "react";
import { useRouter } from "next/navigation";
import { Hanko } from "@teamhanko/hanko-elements";

const hankoApi = process.env.NEXT_PUBLIC_HANKO_API_URL;

export function LogoutBtn() {
  const router = useRouter();
  const [hanko, setHanko] = useState<Hanko>();

  useEffect(() => {
    import("@teamhanko/hanko-elements").then(({ Hanko }) =>
      setHanko(new Hanko(hankoApi ?? ""))
    );
  }, []);

  const logout = async () => {
    try {
      await hanko?.user.logout();
      router.push("/login");
      router.refresh();
      return;
    } catch (error) {
      console.error("Error during logout:", error);
    }
  };

  return <button onClick={logout}>Logout</button>;
}
HankoProfile
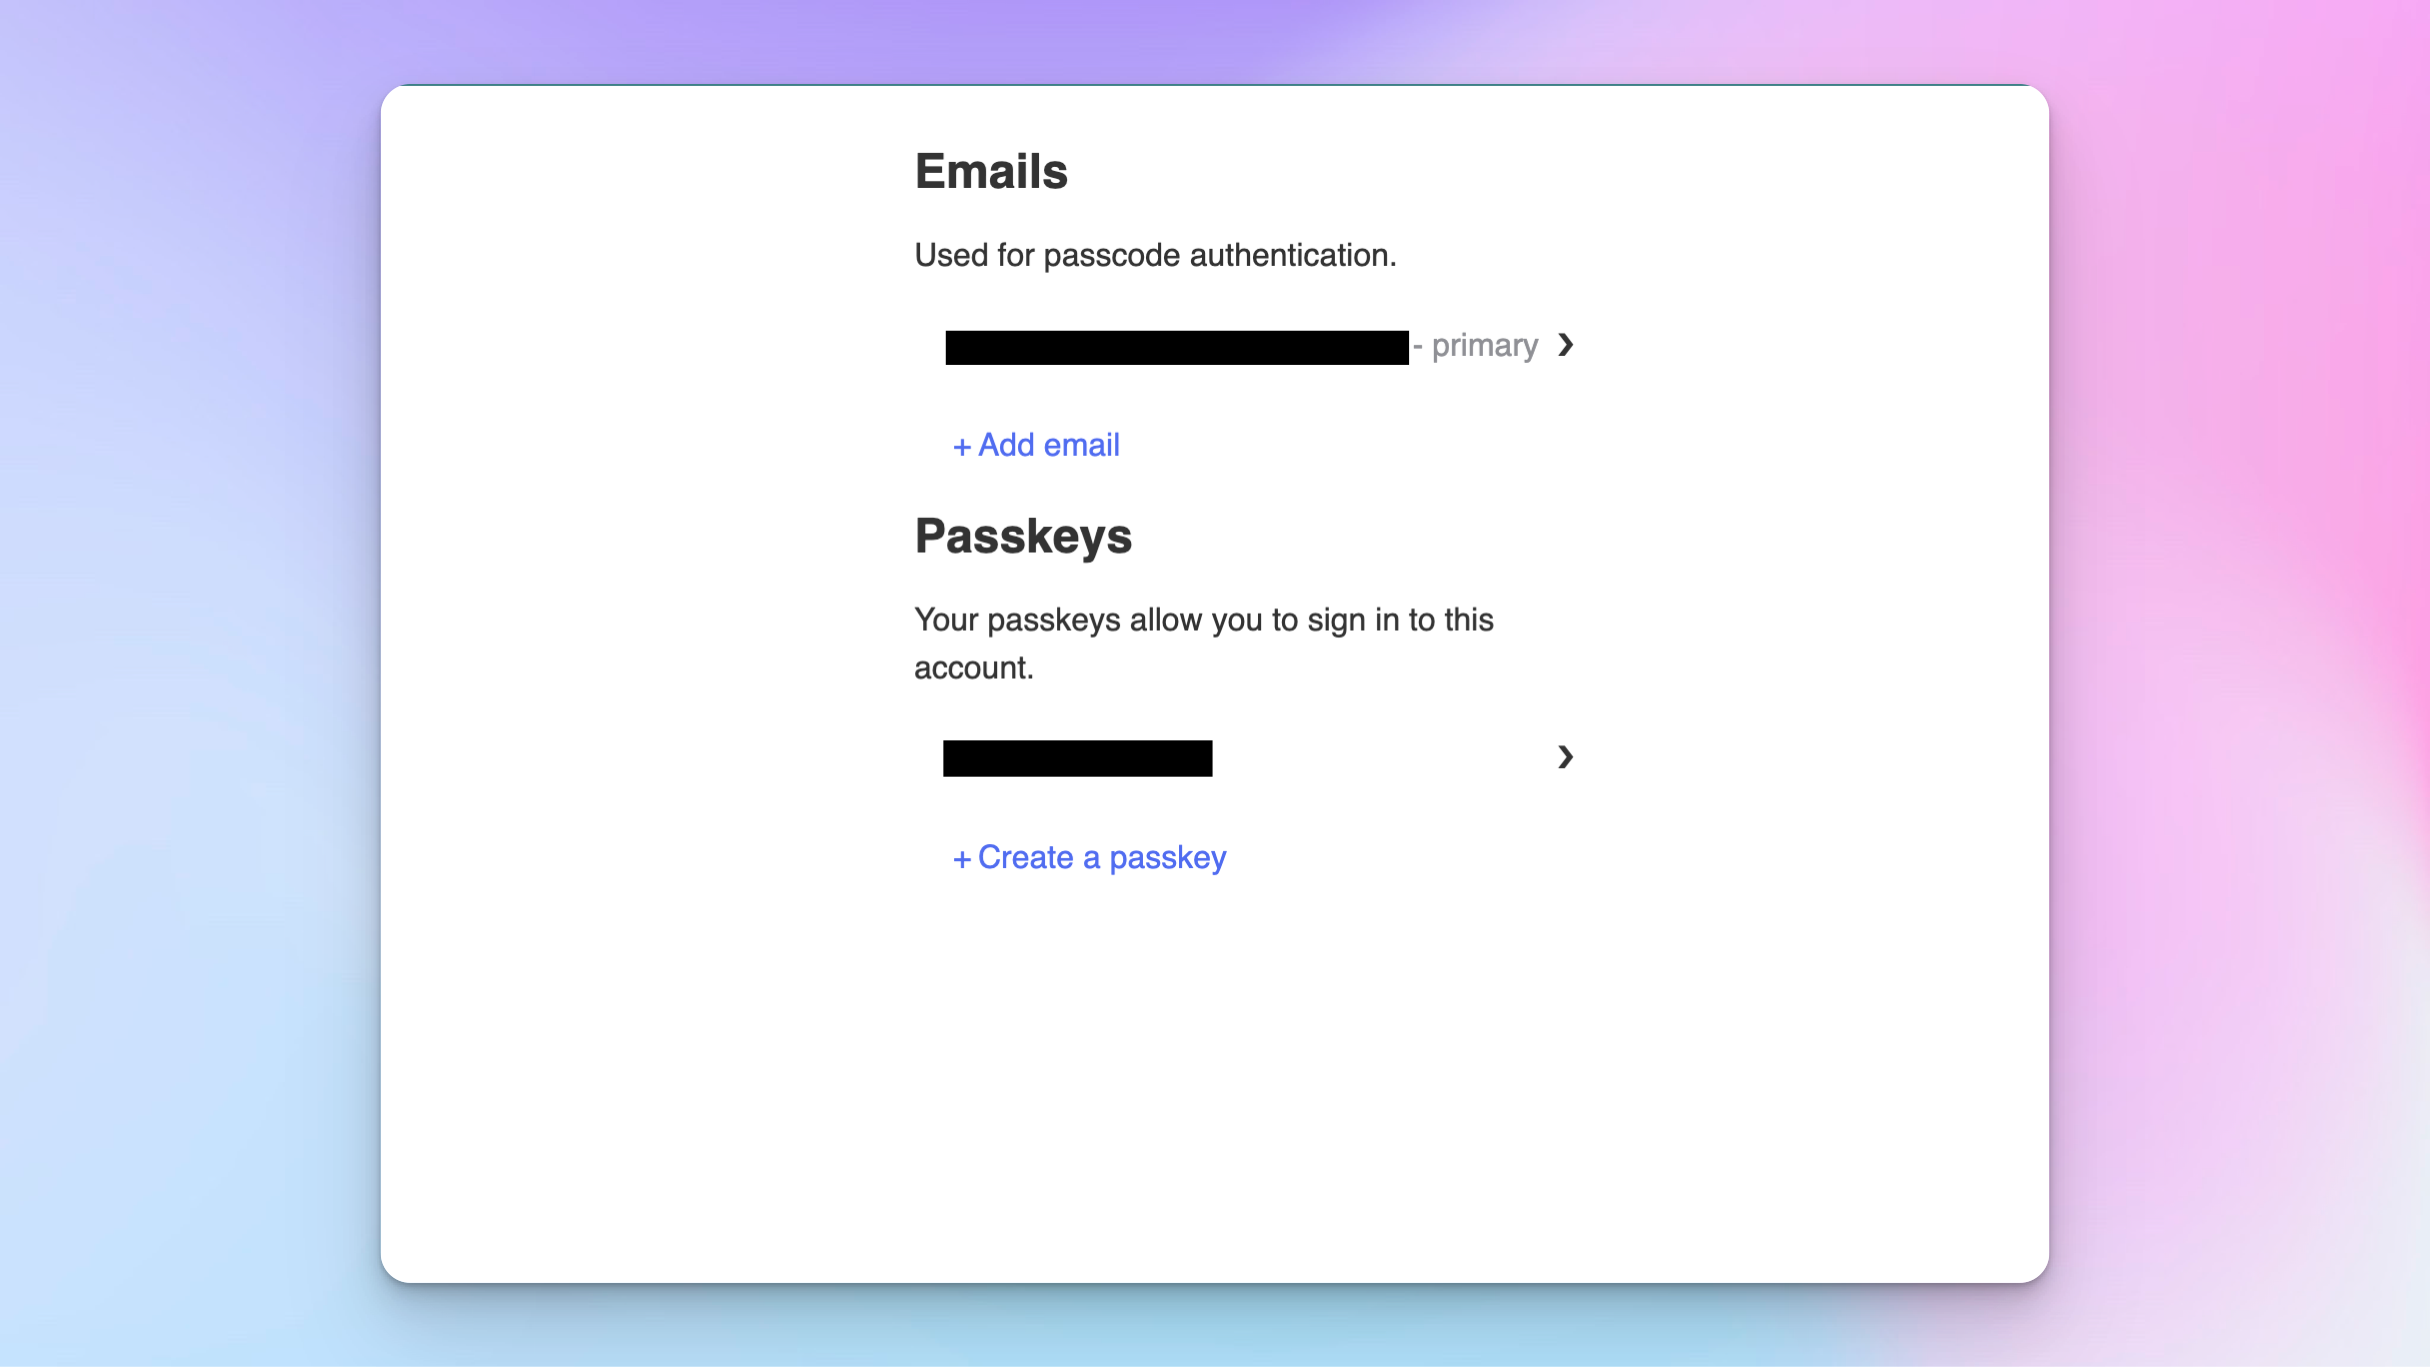
Additionally You can also create an area for the profile management using HankoProfile component . I used a route called 'user-page' for this functionality.
"use client";

import { useEffect } from "react";
import { register } from "@teamhanko/hanko-elements";

const hankoAPI = process.env.NEXT_PUBLIC_HANKO_API_URL || "";

export function HankoProfile() {
  useEffect(() => {
    register(hankoAPI).catch((err) => {
      console.error(err);
    });
  }, []);
  return <hanko-profile />;
}
It will look similar to this:
Conclusion
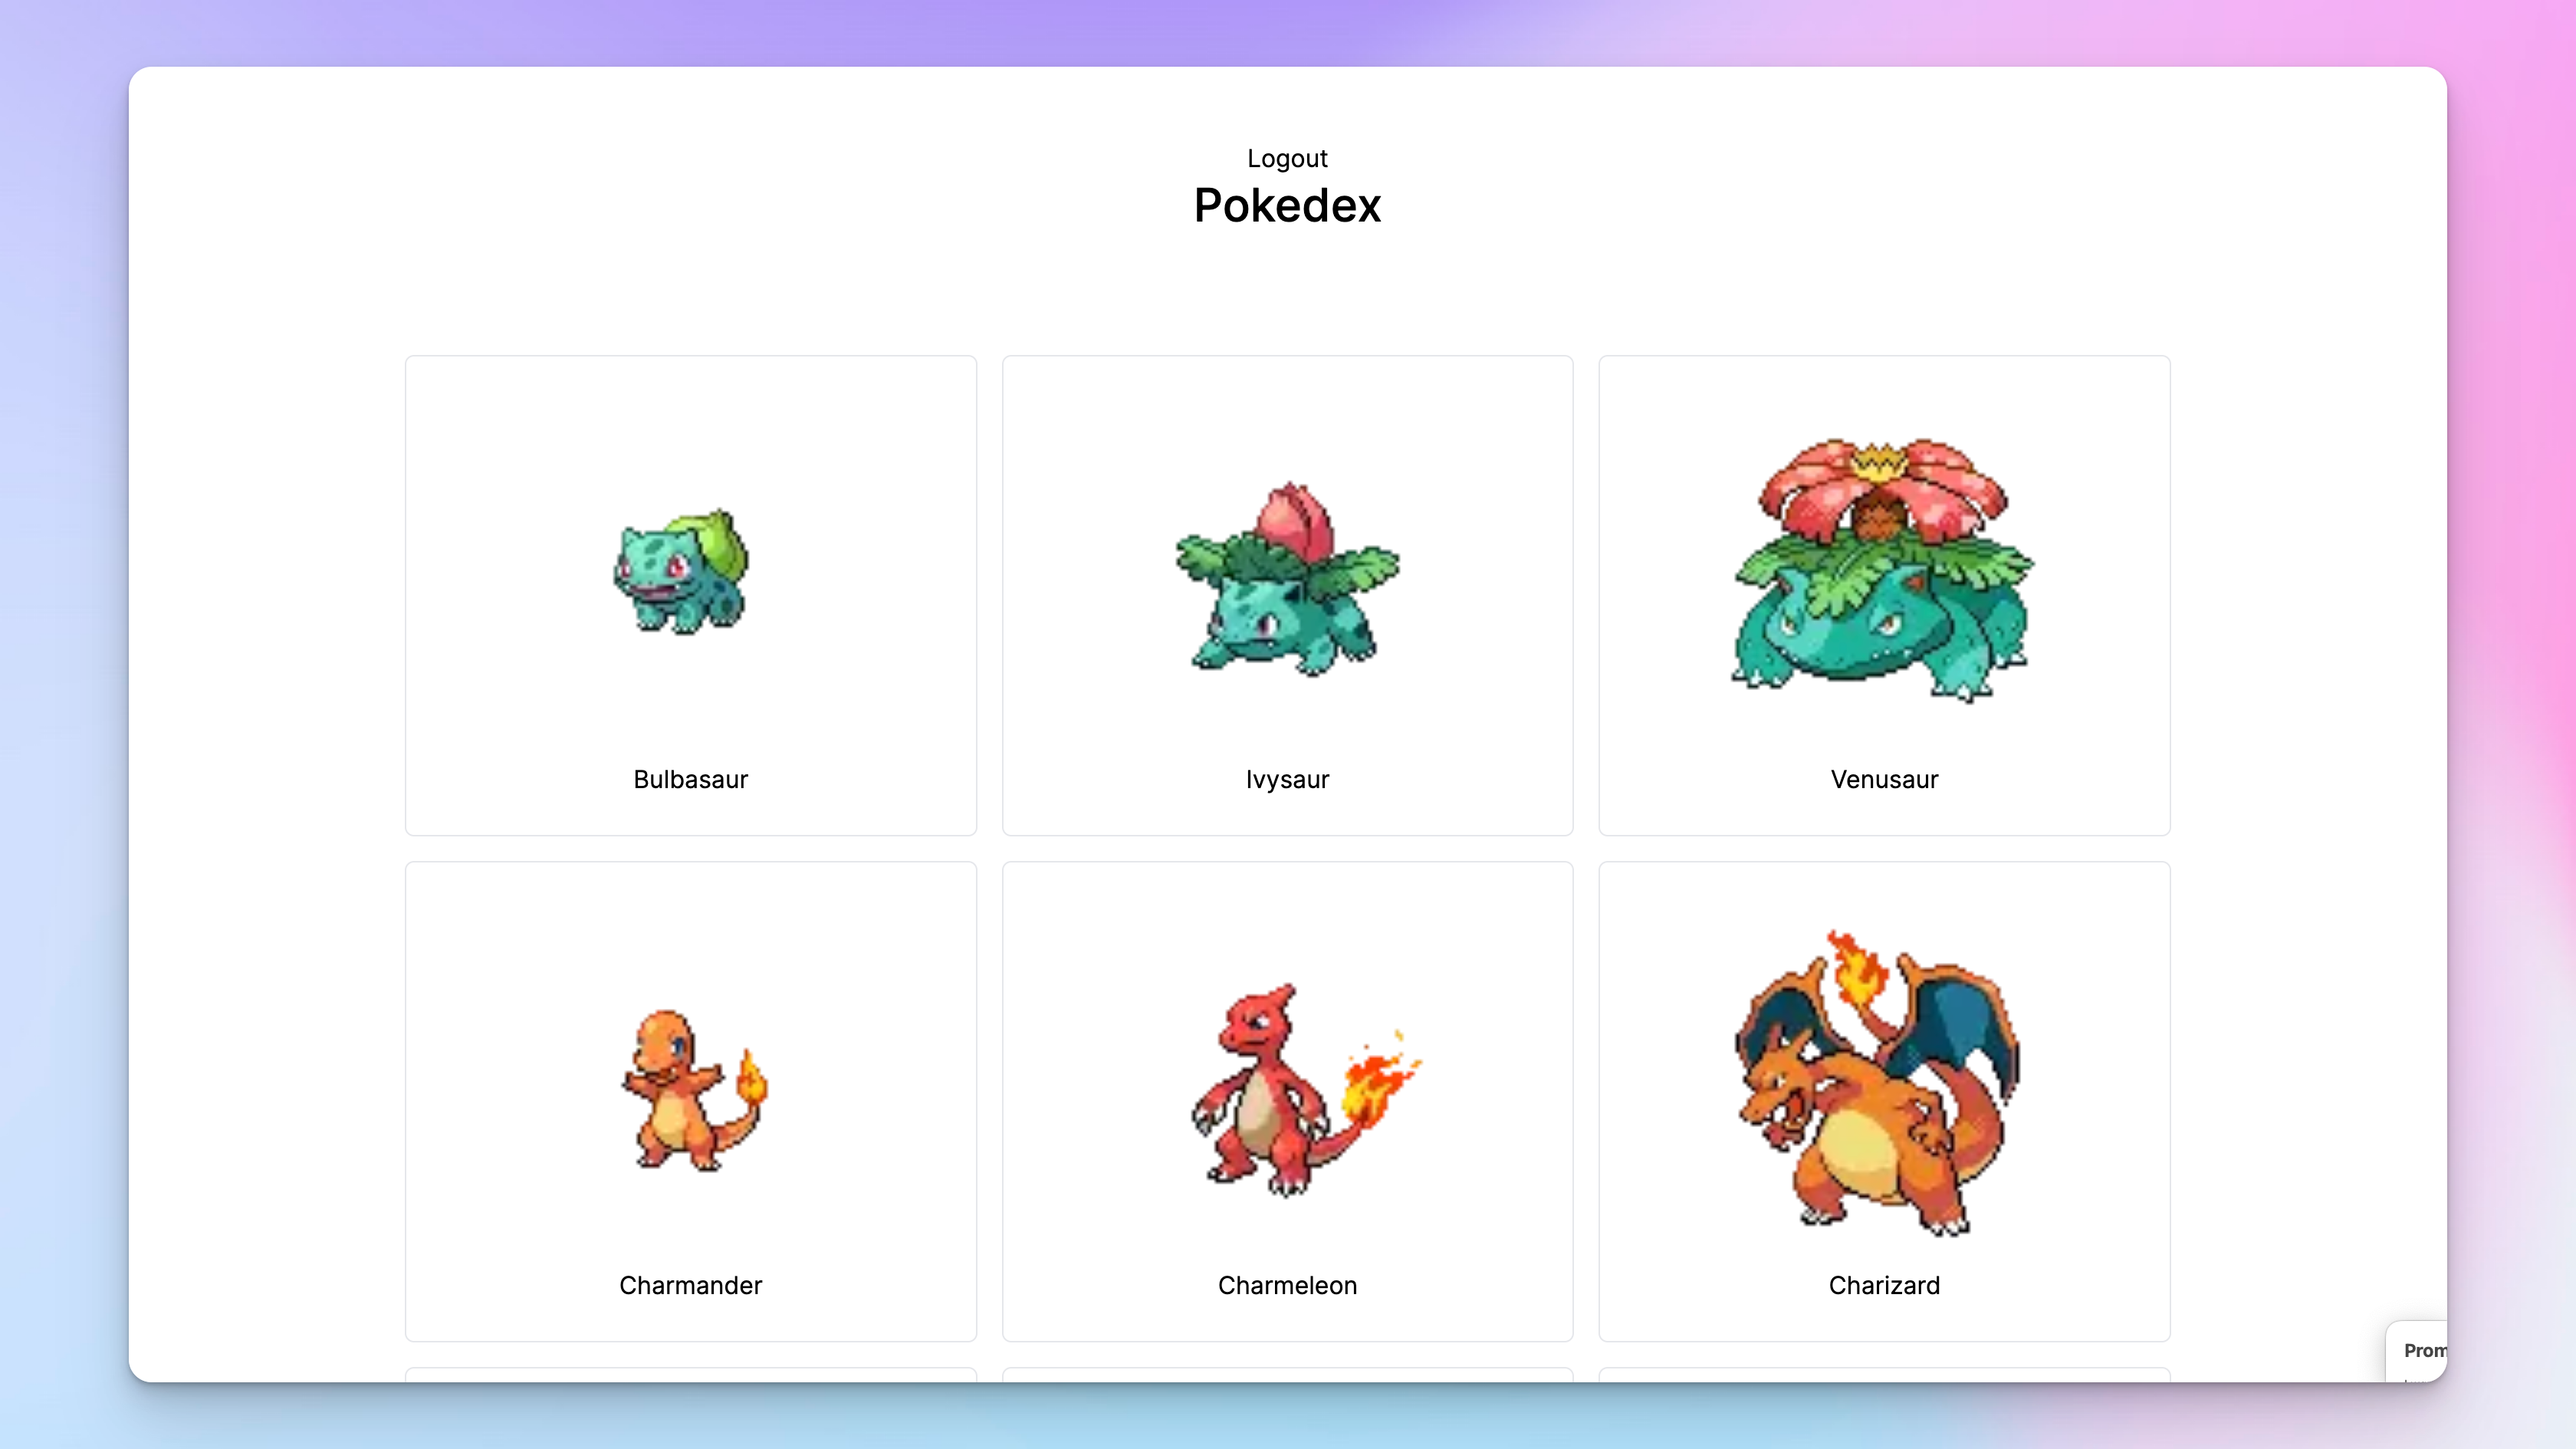
If everything works fine, you should be able to see this. Hanko's documentation is super simple and makes it easier to integrate with Nextjs.
Happy coding!