Setting up Stripe
Setting up Stripe for your Supabase project. Learn how to create products, webhooks, and more.
Create a Stripe account
Go to the Stripe website (https://stripe.com/) and click on the "Sign Up" button in the top right corner. Follow the prompts to create a new account. You will need to provide your email address and choose a password. Once you have created your account, log in and complete the onboarding process. You don't need to setup everything while you are setting up.
Enter Test Mode
By default your account will be in Test Mode. This means you can test your integration without processing real payments. You can switch to Live Mode when you are ready to start processing real payments.
If you are not in Test Mode, you can switch to it by clicking on the Test Mode toggle in the top right part of your dashboard.
Get your API keys
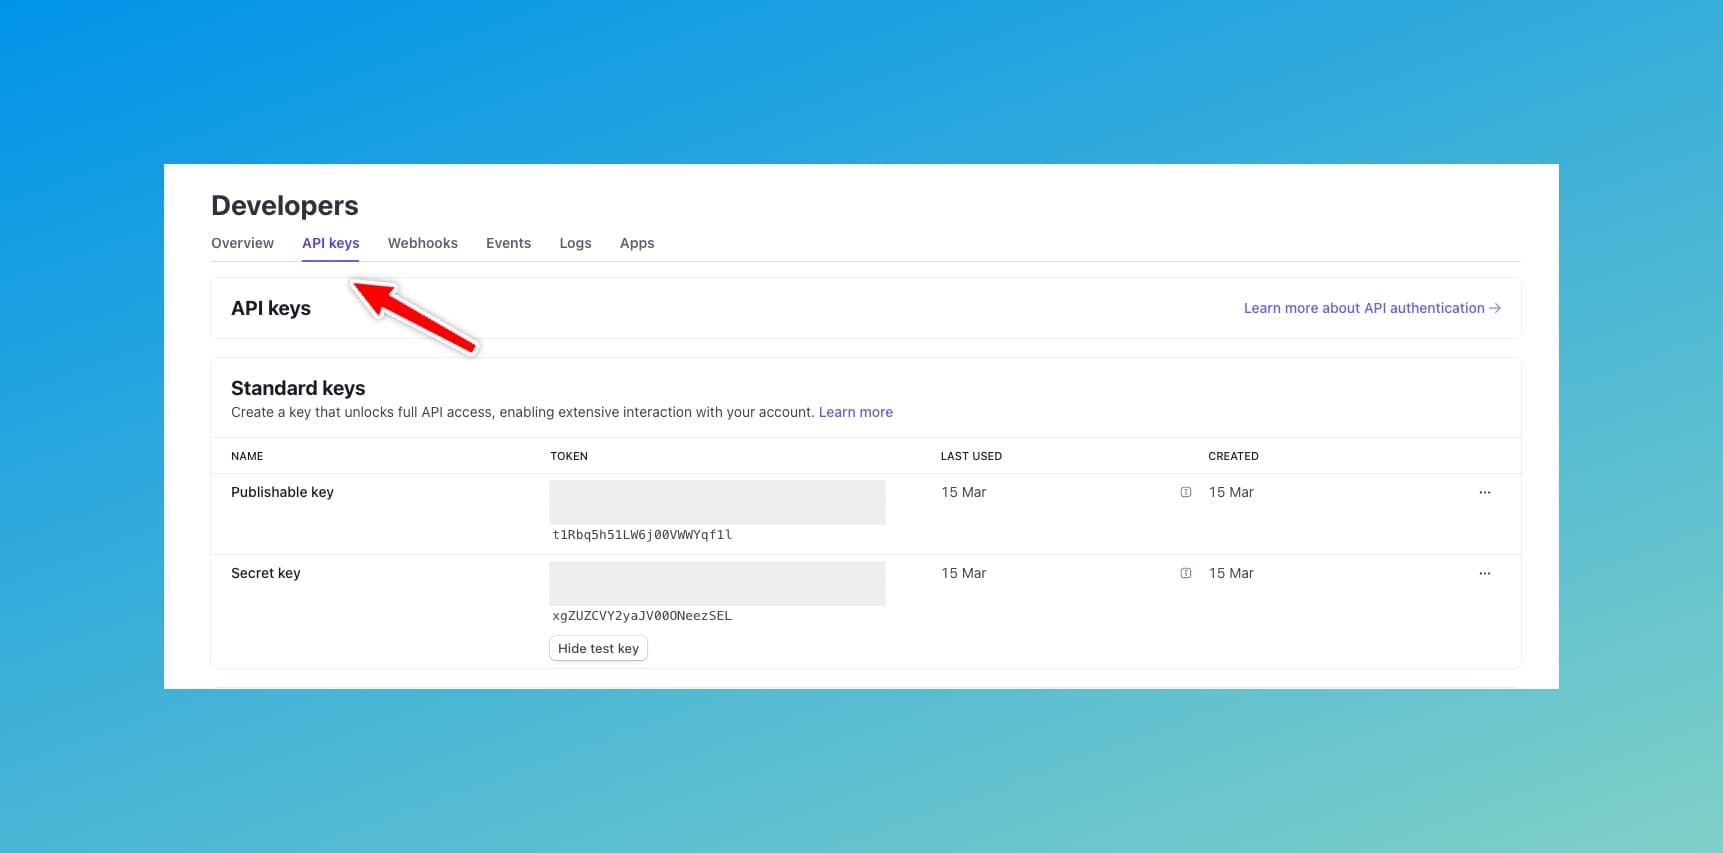
Once you have setup stripe, head to the Developers section and in the Keys section, grab the Secret key and Publishable key from there. Save them to a secure location. You will need them.

So as of now you have two keys.
STRIPE_SECRET_KEY=sk_test_...
STRIPE_PUBLISHABLE_KEY=pk_test_51...
Setup Webhooks for local testing
Webhooks are a way for you to receive real-time updates from Stripe. You can use webhooks to receive notifications when a payment is made, when a customer is created, and more. This is important for your Supabase project to know when a payment is made so that you can update your database accordingly.
You can use webhooks to also track product and price updates in your app. It has already been configured in Nextbase.
In Nextbase, we have configured a webhook endpoint at /api/stripe/webhooks. This is the endpoint that Stripe will send the events to. But for Stripe to send events to your local machine, you need to expose your local server to the internet. You can use a tool like ngrok to do this, which can be more flexible, but you can also use Stripe CLI to trigger fixture events and test your webhook locally.
Setting up using Stripe CLI
- Install the Stripe CLI from here.
- Login to your Stripe account using the CLI.
stripe loginThis will ask you to open a link in your browser. Once you have logged in, you can close the browser and return to the terminal.
- Forward the webhook events to your local server.
stripe listen --forward-to localhost:3000/api/stripe/webhooksThis will give you a webhook signing secret. Add this to your .env.local file.
STRIPE_WEBHOOK_SECRET=whsec_...- Trigger the following events to create your product and price.
stripe trigger product.created
stripe trigger price.created
Confirm that you see the events in your terminal and the products and prices are created in supabase. Here is how they might look like in your supabase studio. You can visit http://localhost:54323 and look at your table editor to confirm.


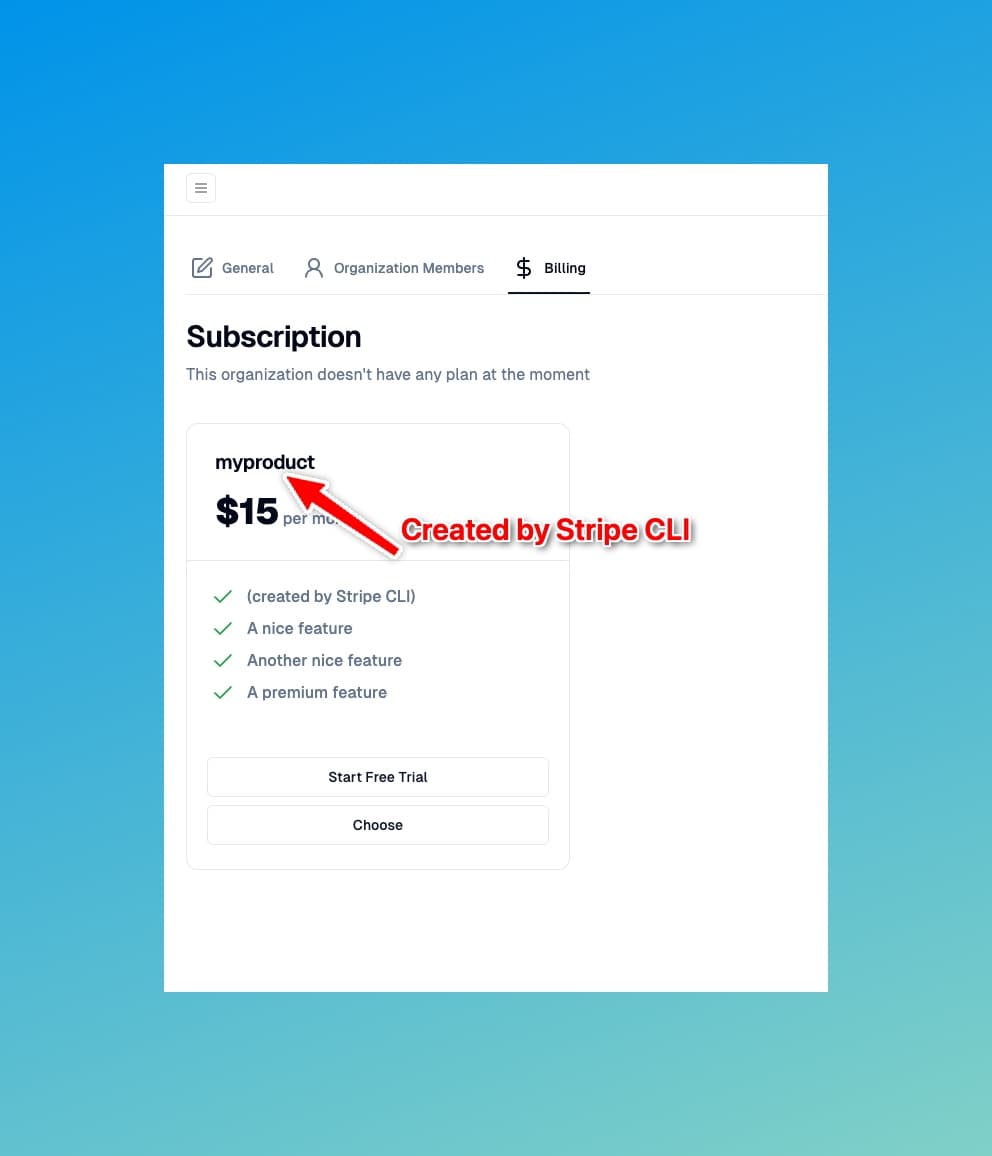
- Now as your dev server is already running. You can go your app and head over to the organization billing page and you can see the created product with its price there.

Test out the Free Trial option and the Choose option to see if the payment is successful. Use test payment methods and test card numbers from here.
Setting up Supabase Locally
Learn how to set up Supabase locally for development. This guide will show you how to pull the Docker image and set up the environment variables for your Next.js application.
Create stripe products and Ngrok
Create stripe products in the database. Our database will automatically stay in sync with Stripe and create the necessary rows in the database.