Setting up Payments
Setting up Stripe payments using the admin panel
Setting up Stripe
First, navigate to the Stripe Developer Dashboard. This is where you'll find your API keys and set up webhooks.
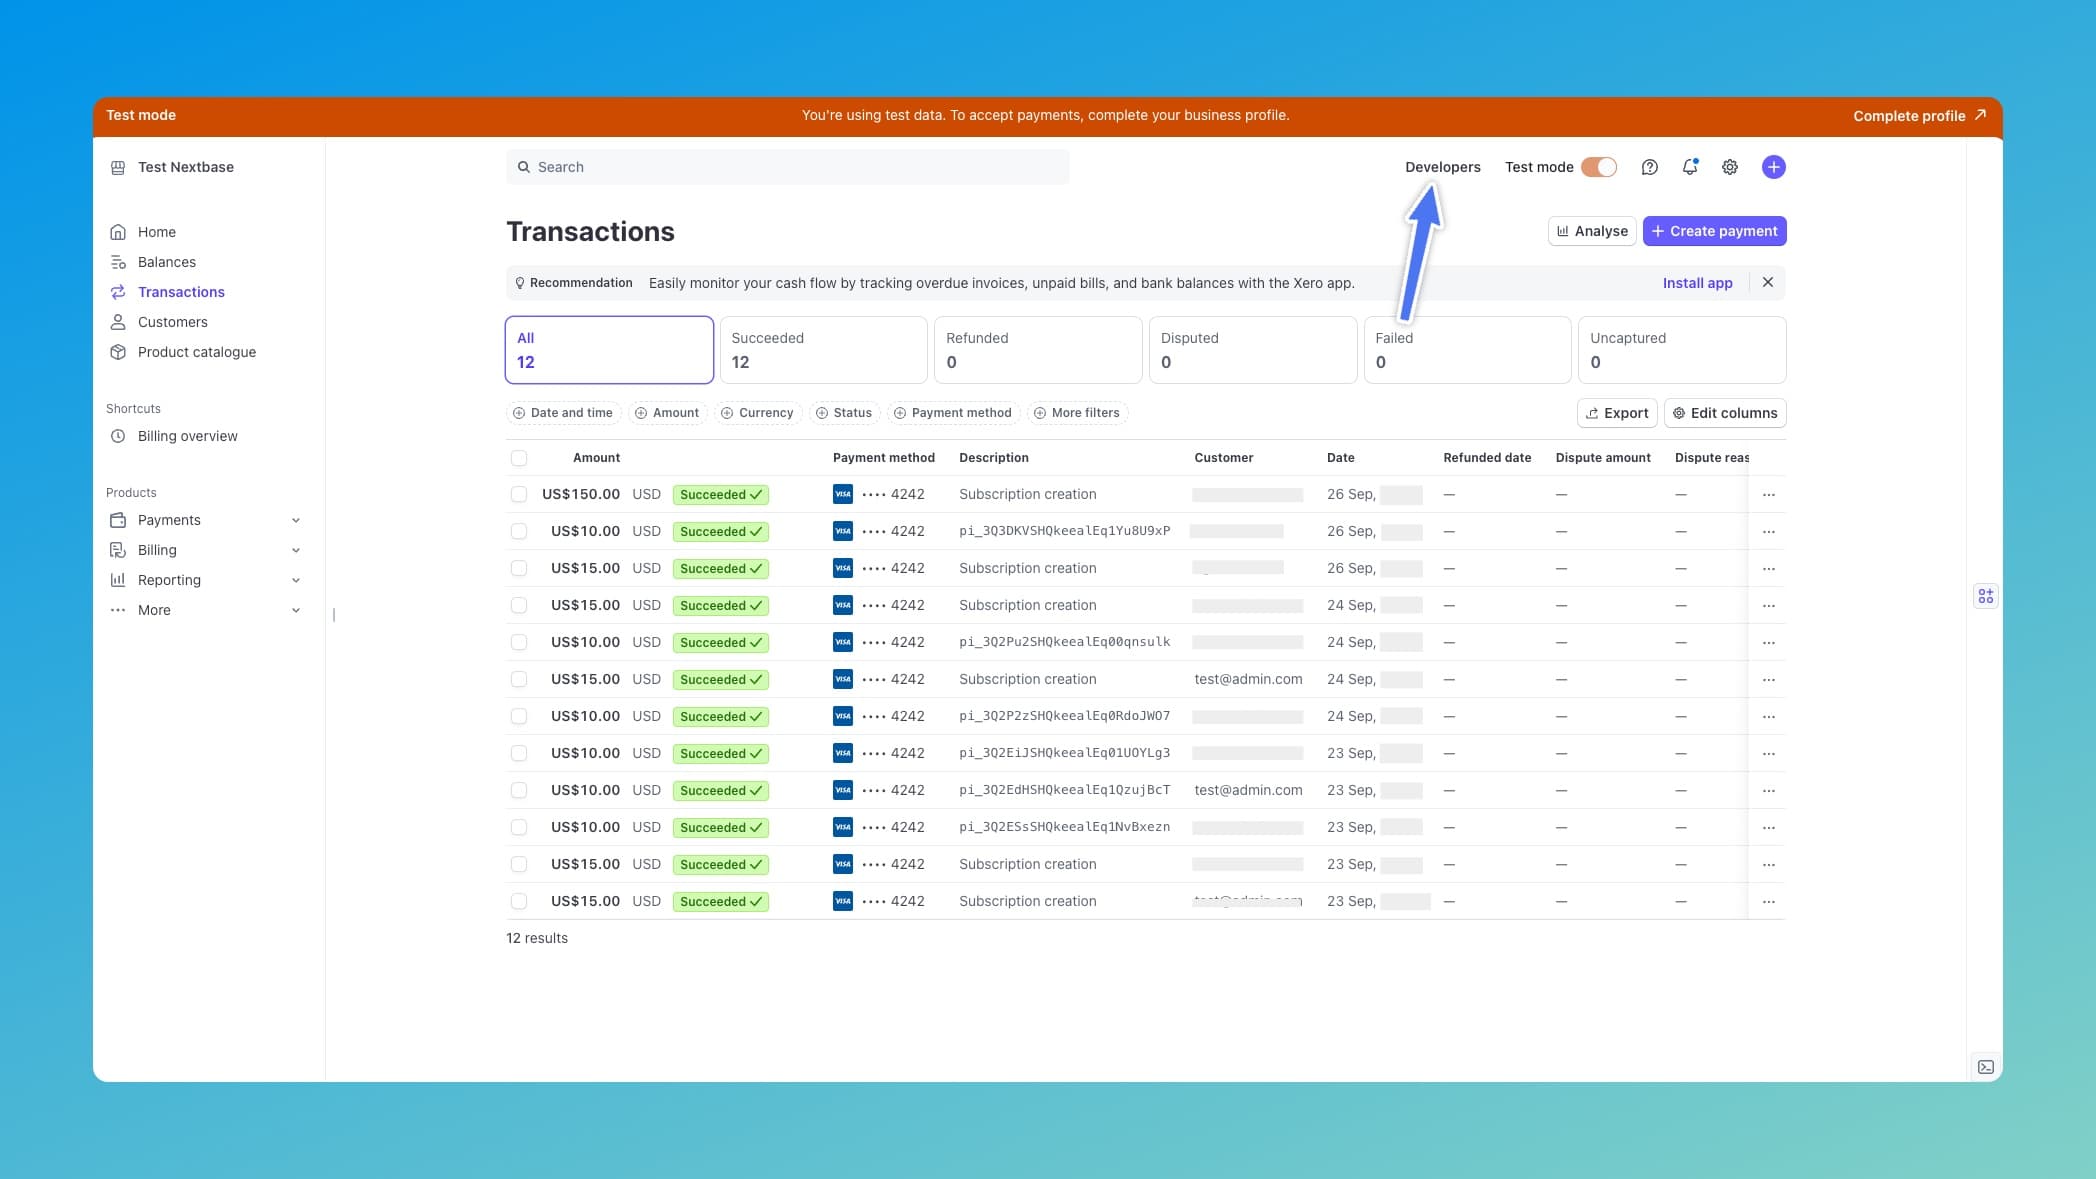
Create products and prices
If you don't have any products and prices created in Stripe, you can create them in the Stripe dashboard.
Get environment variables
Find your STRIPE_SECRET_KEY and STRIPE_PUBLISHABLE_KEY in the developers section and paste them in the .env.local file.
Don't worry about the STRIPE_WEBHOOK_SECRET for now. We will setup webhooks later.
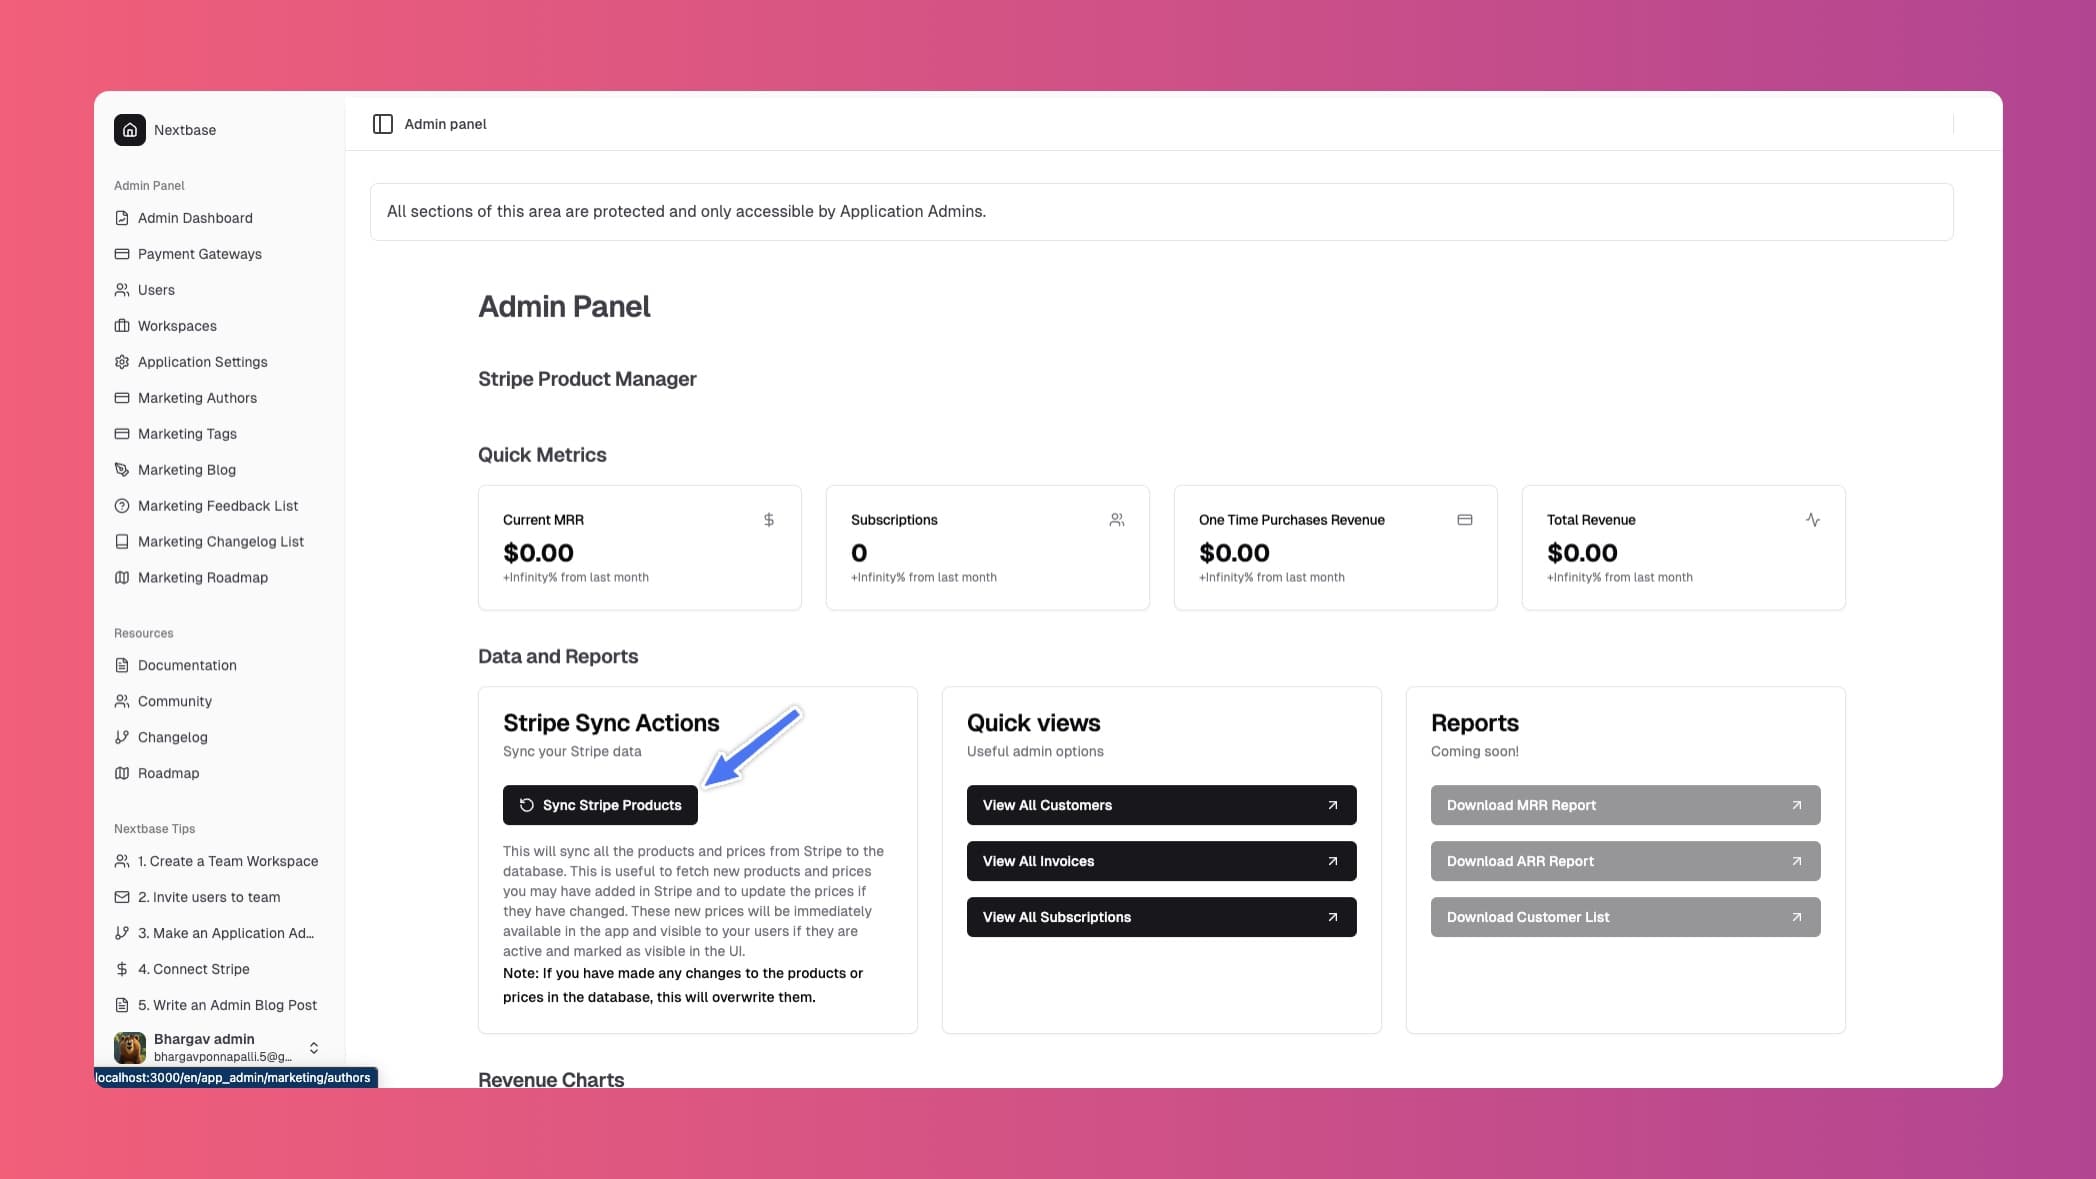
Sync Stripe Products and prices with Application
Sync payments with your database from the ``Payments section in the admin panel:
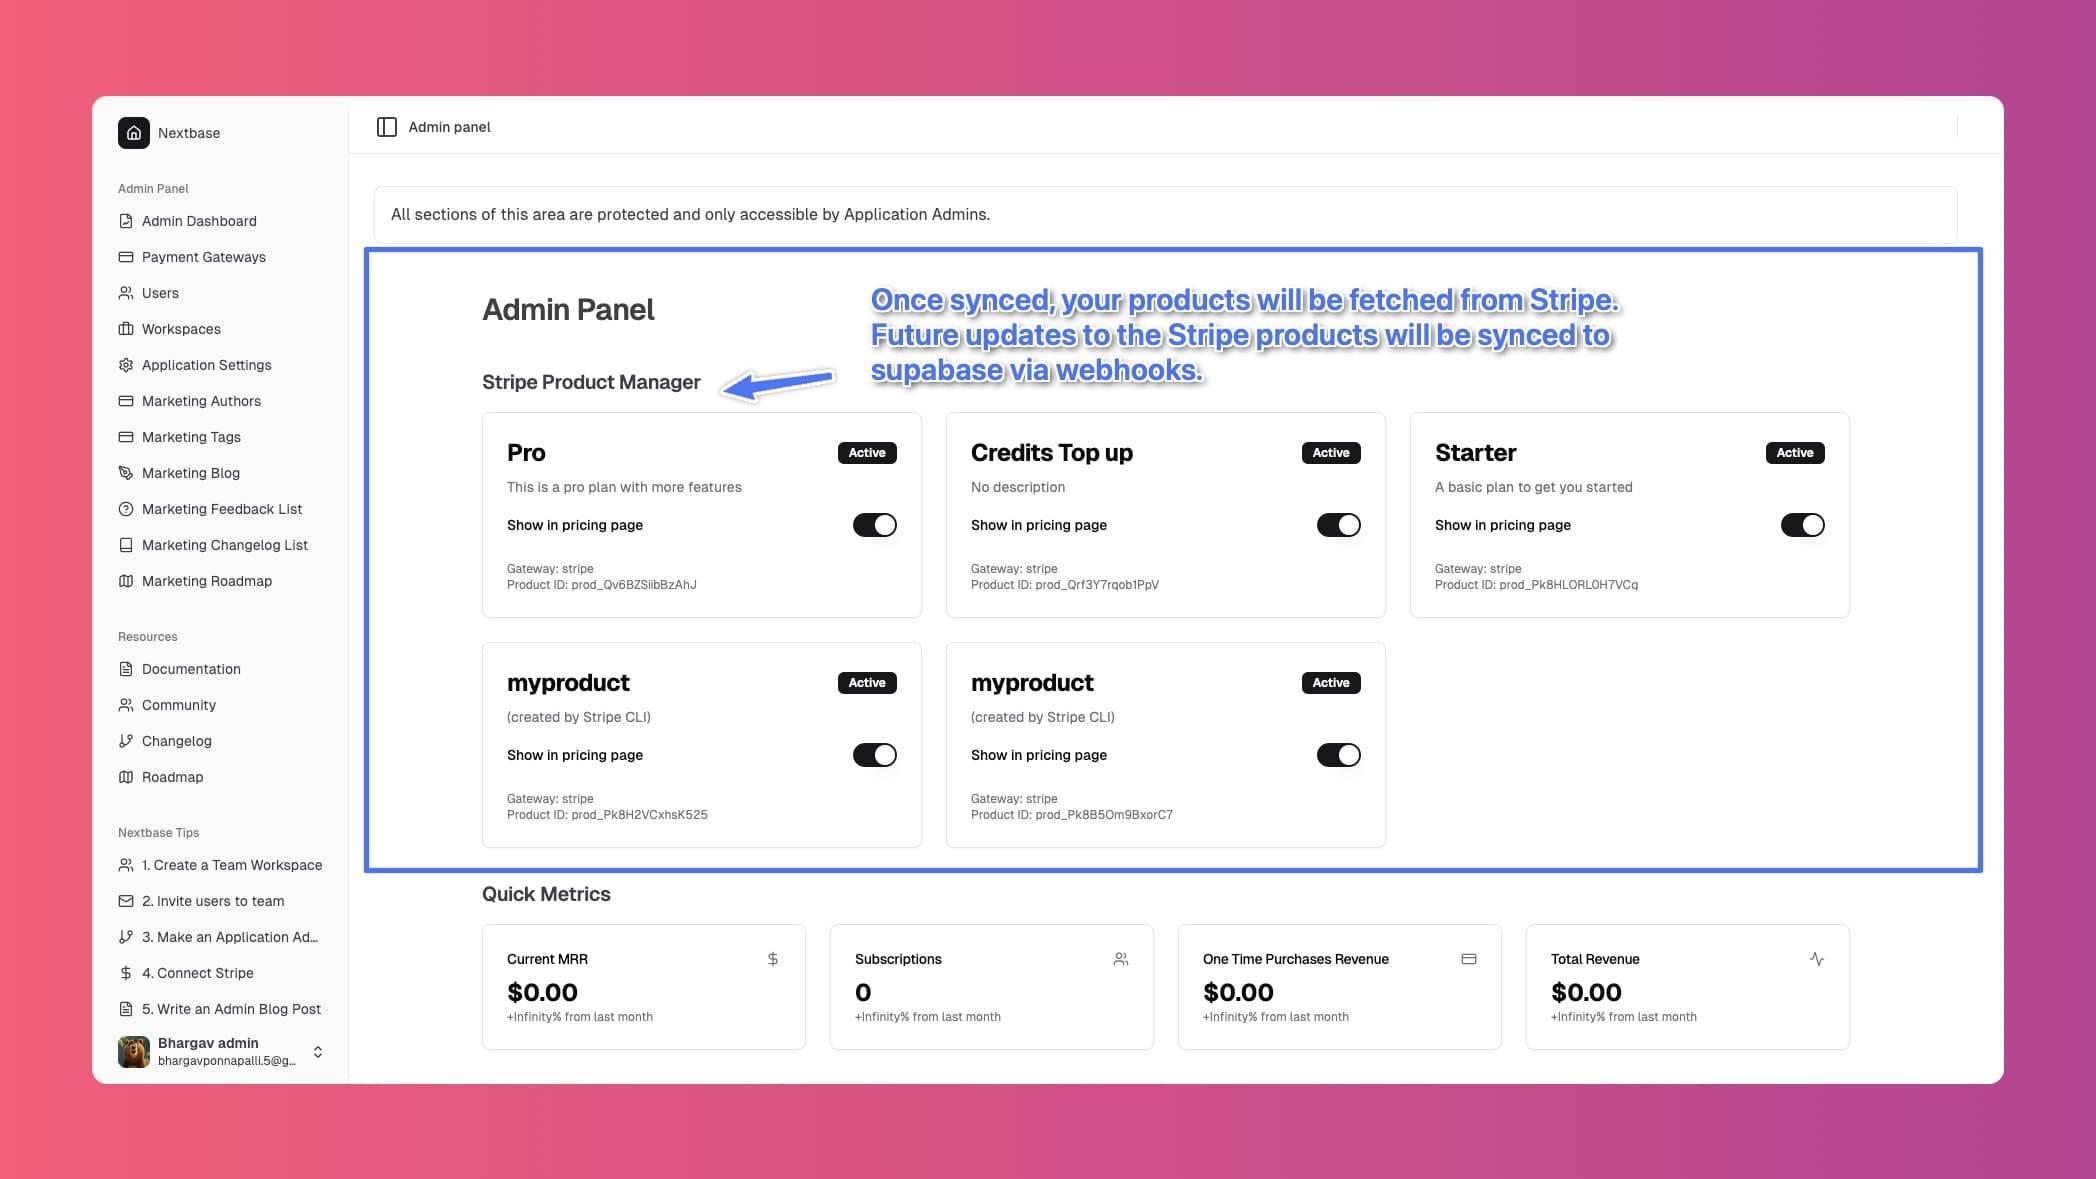
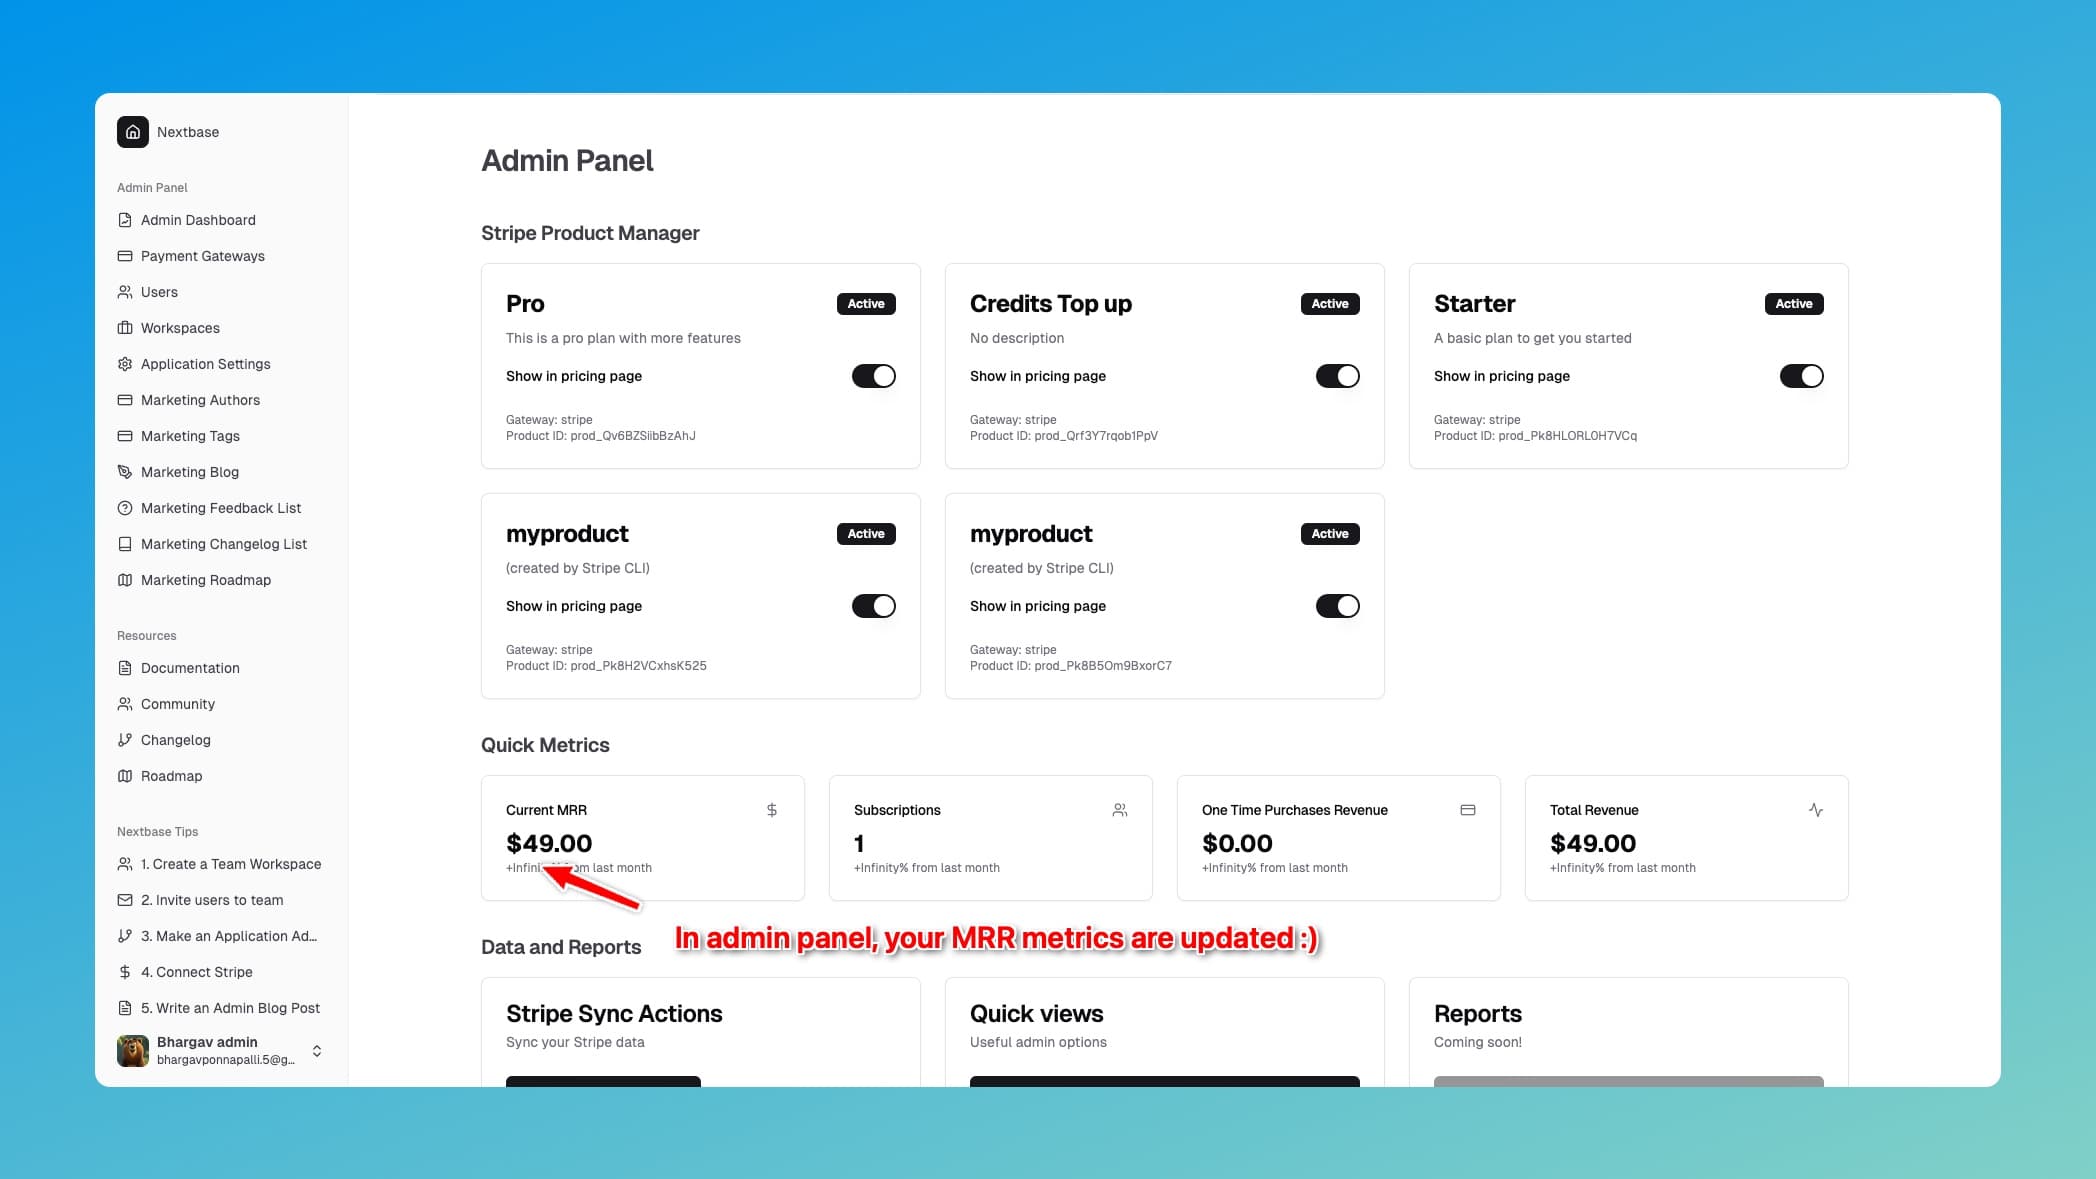
Stripe products and pricesare now visible in the admin panel:
Ready to collect payments
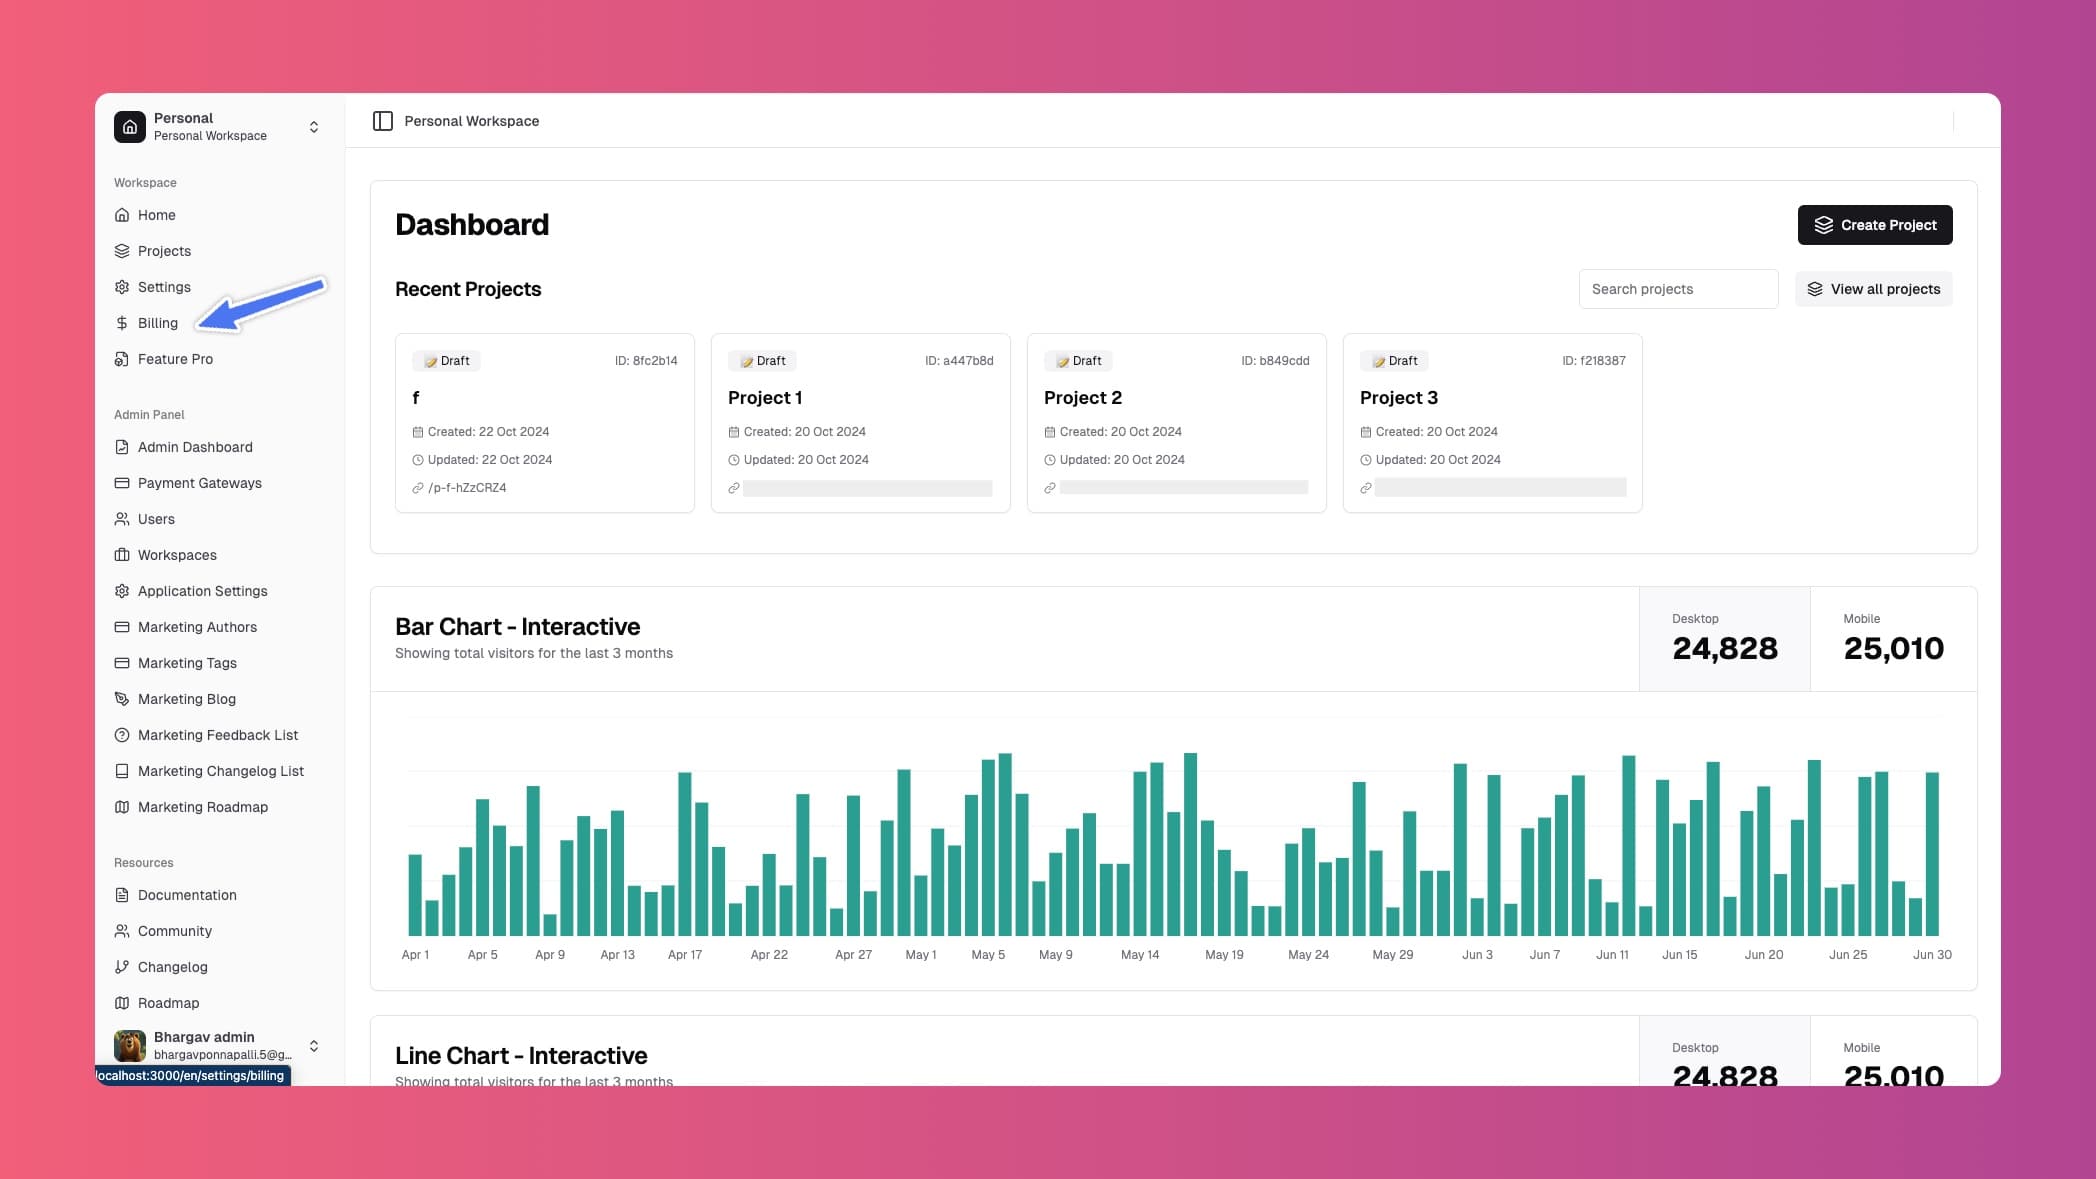
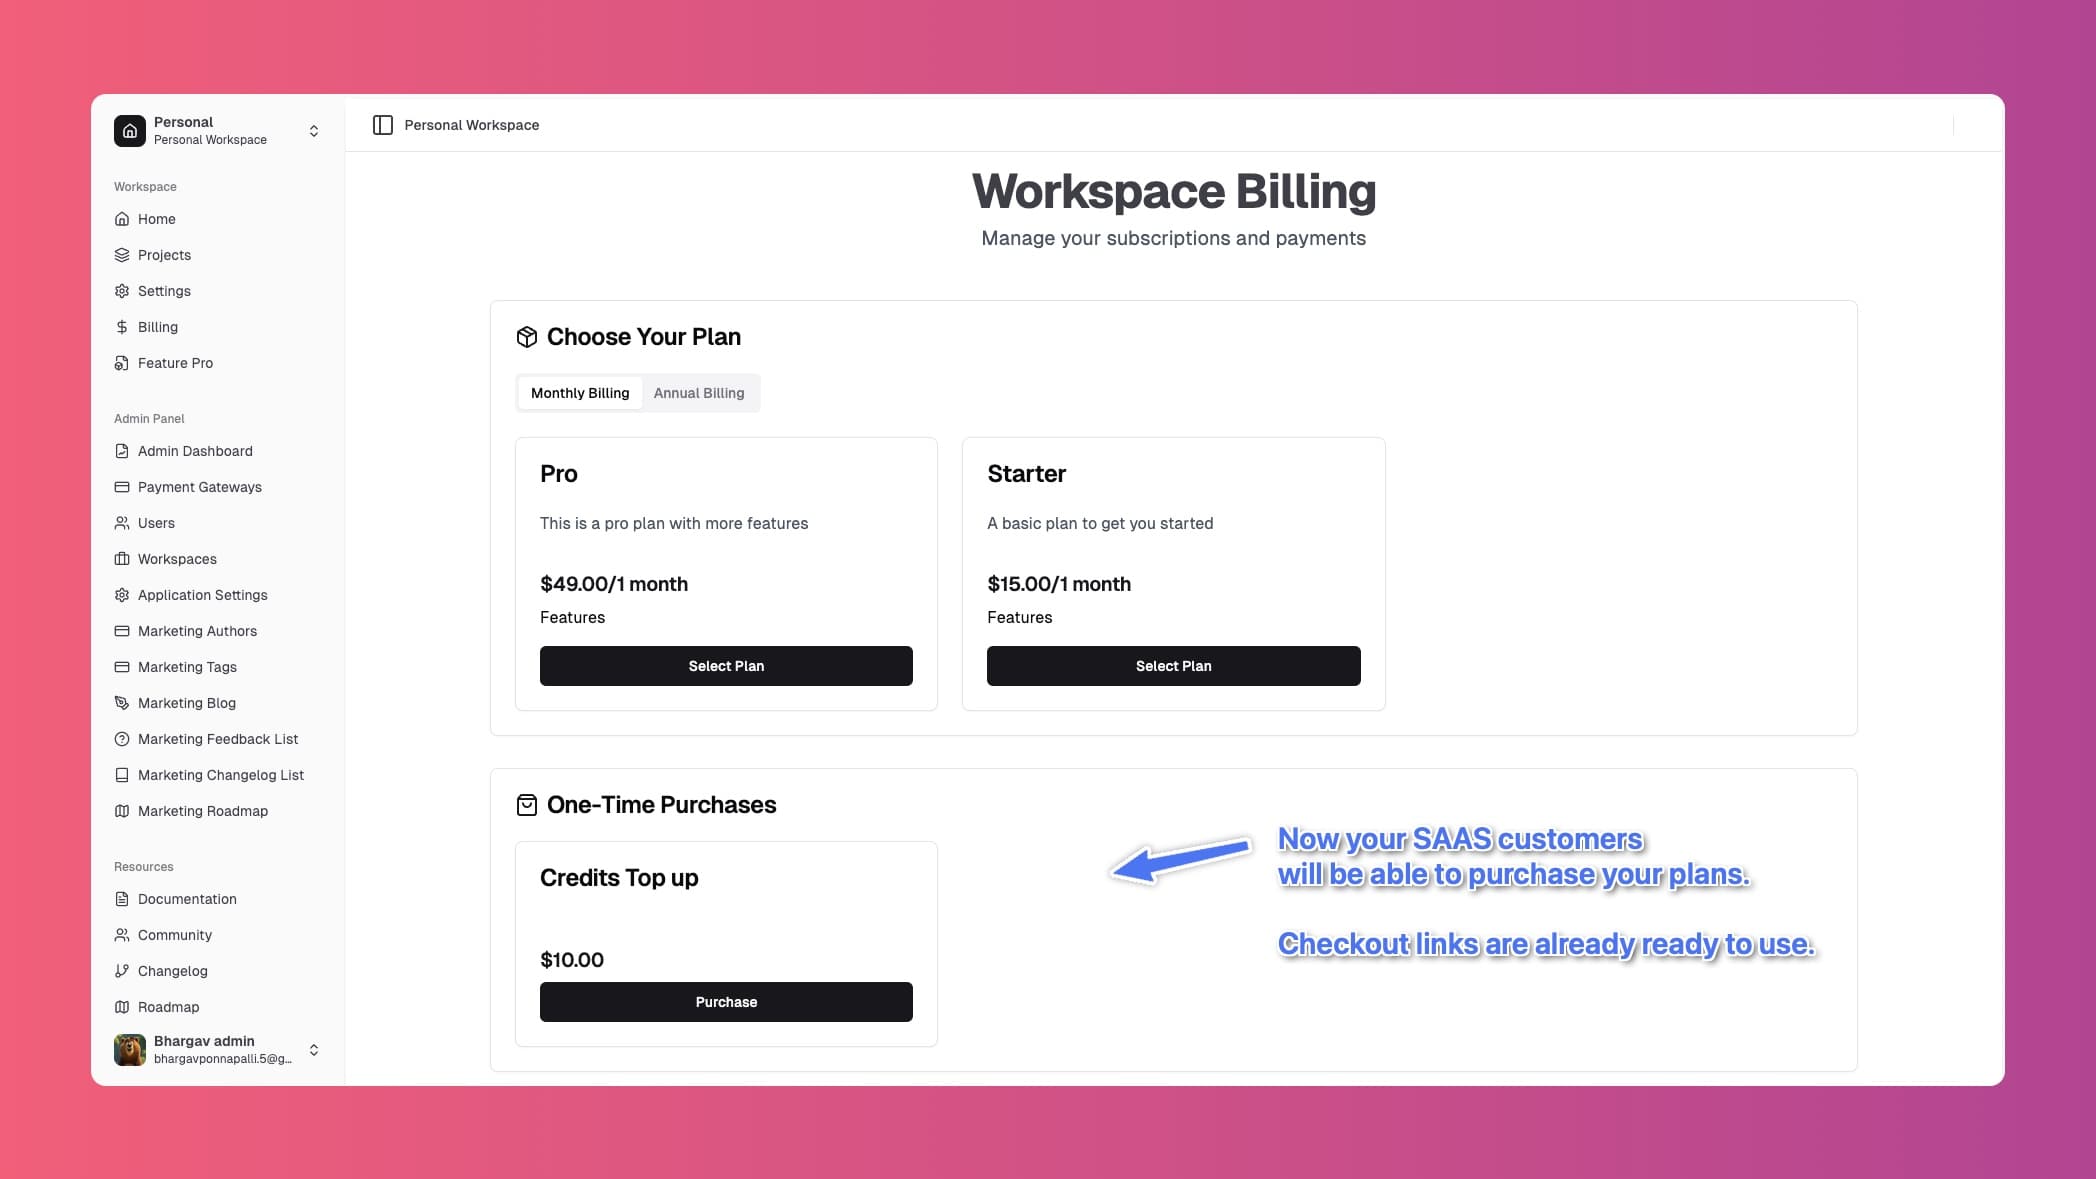
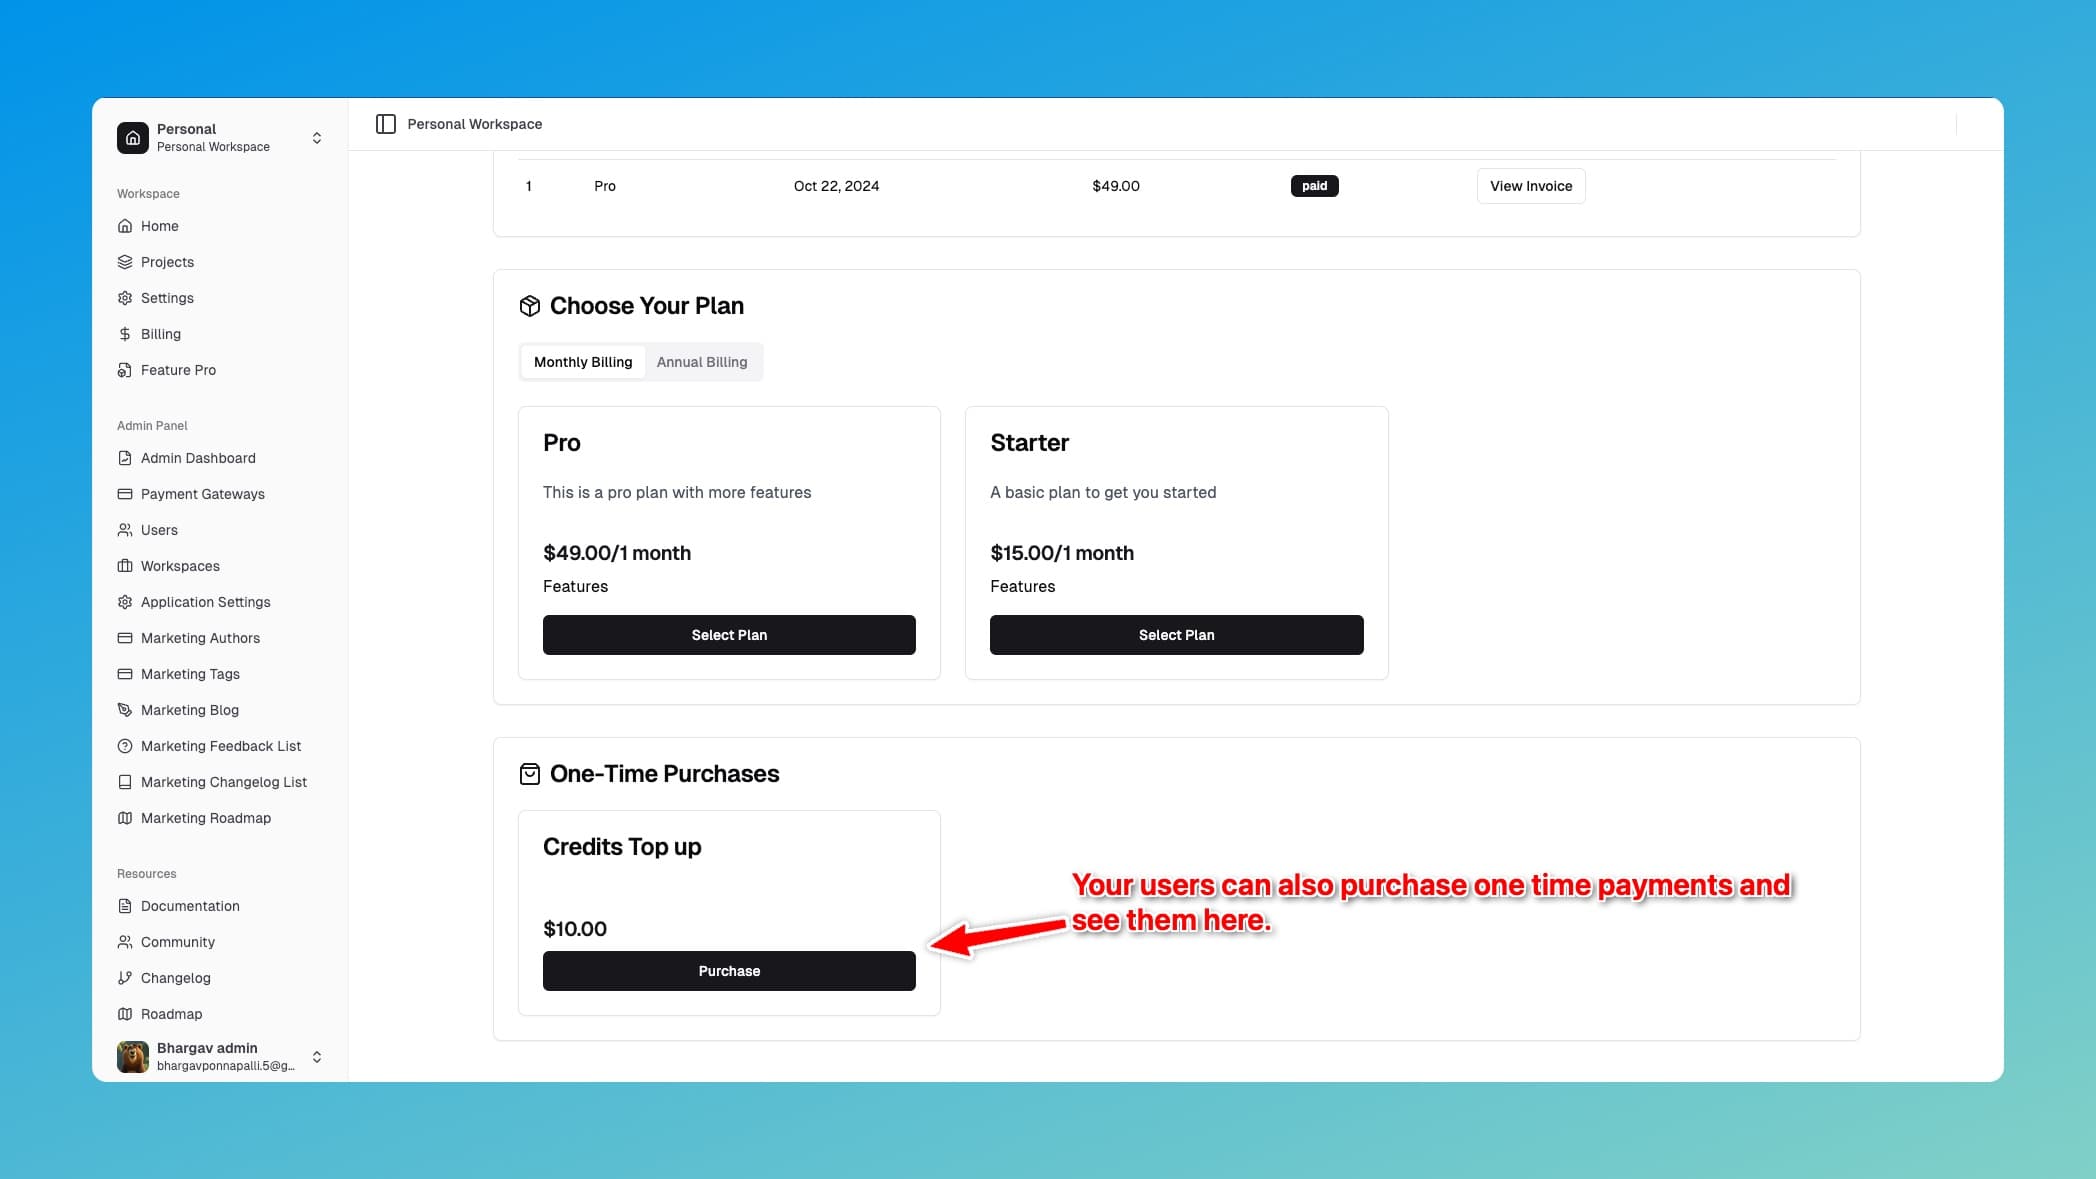
You are now ready to collect payments. Now when your user logs into the application and see the workspace billing page, they will see the products and prices:
Products and prices are neatly organized into subscriptions and one-time payments. You can change the logic for this in the code.
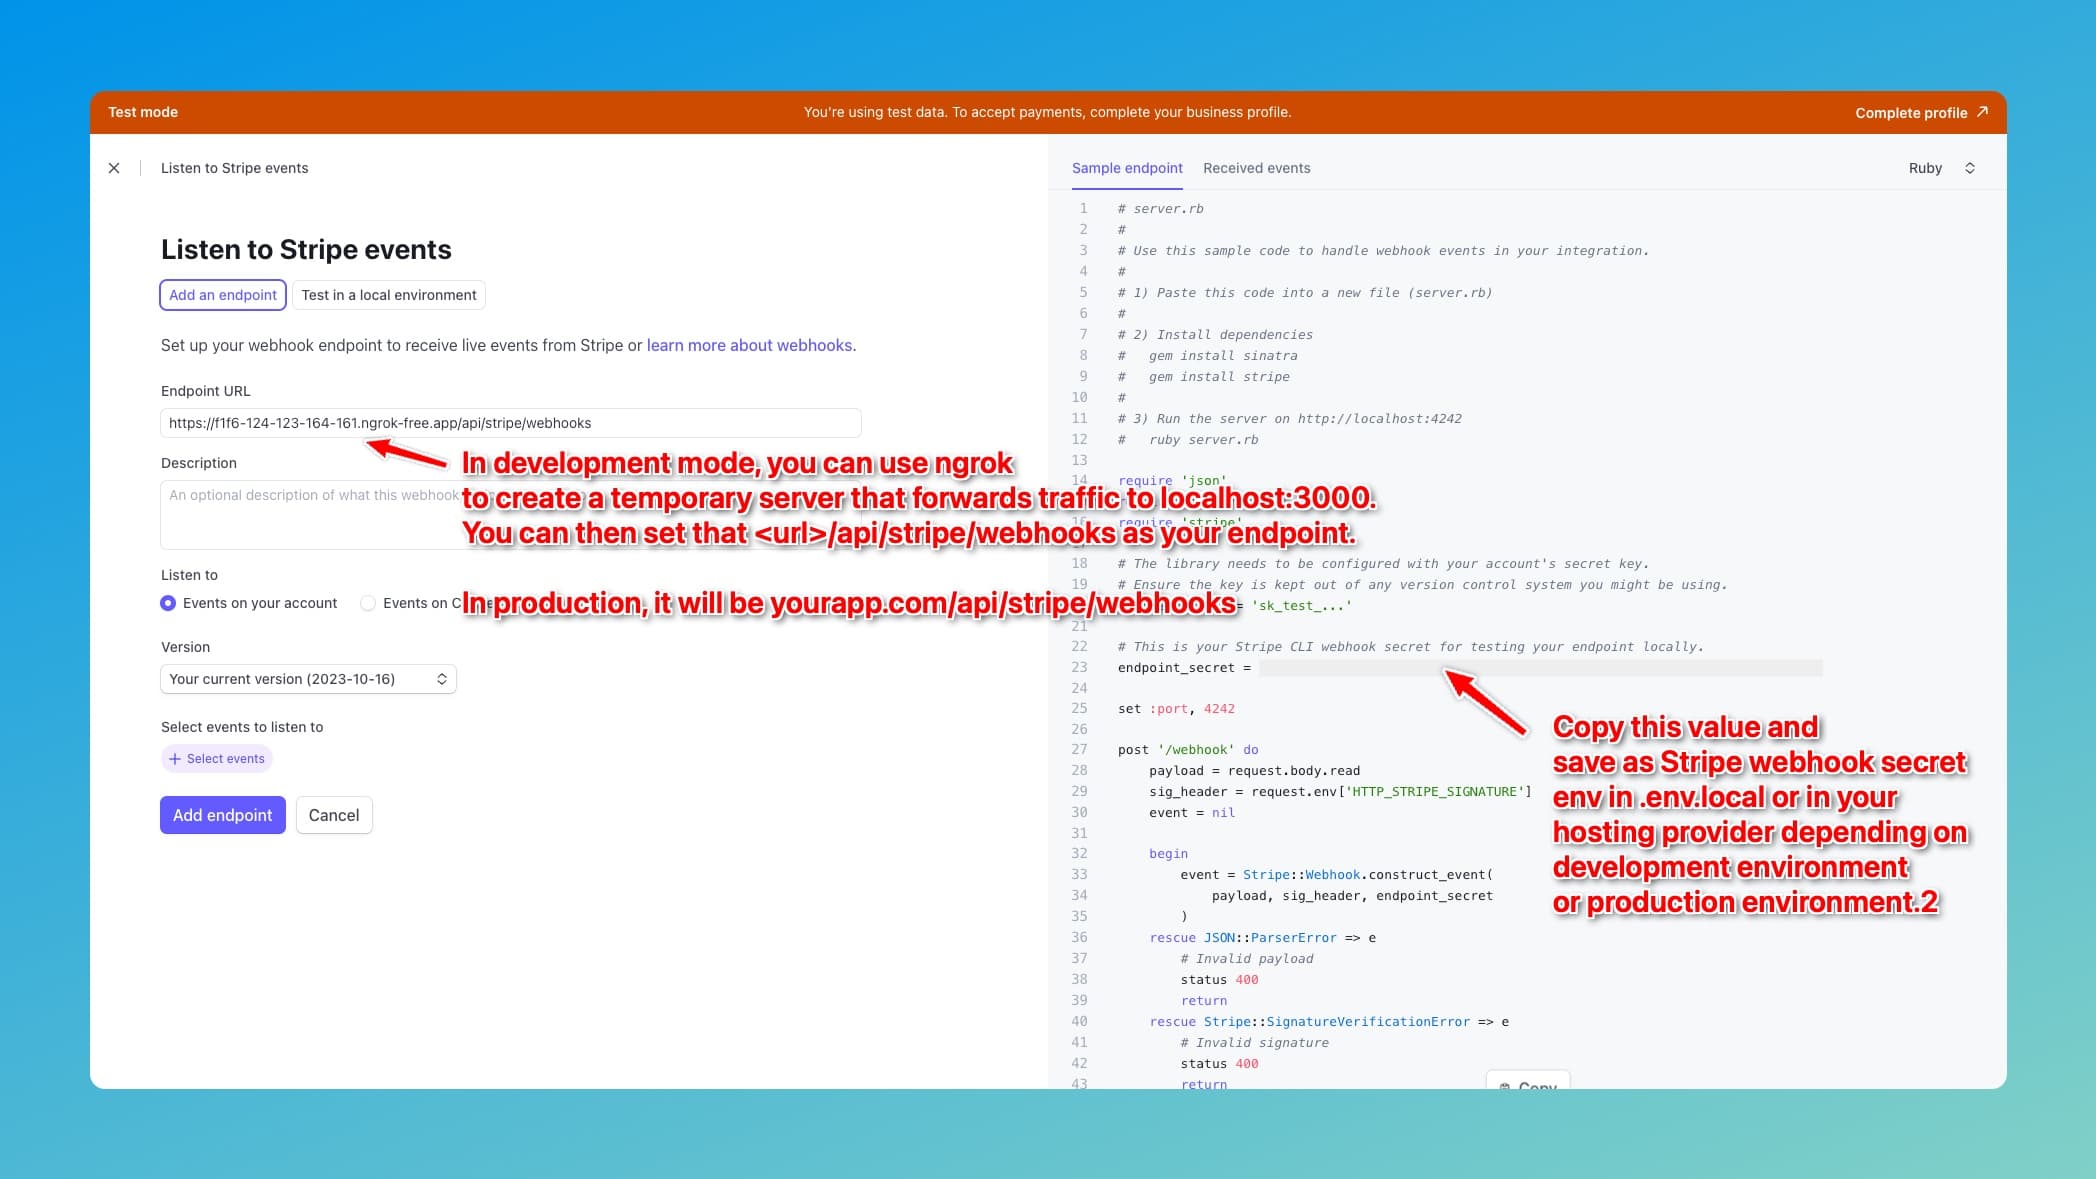
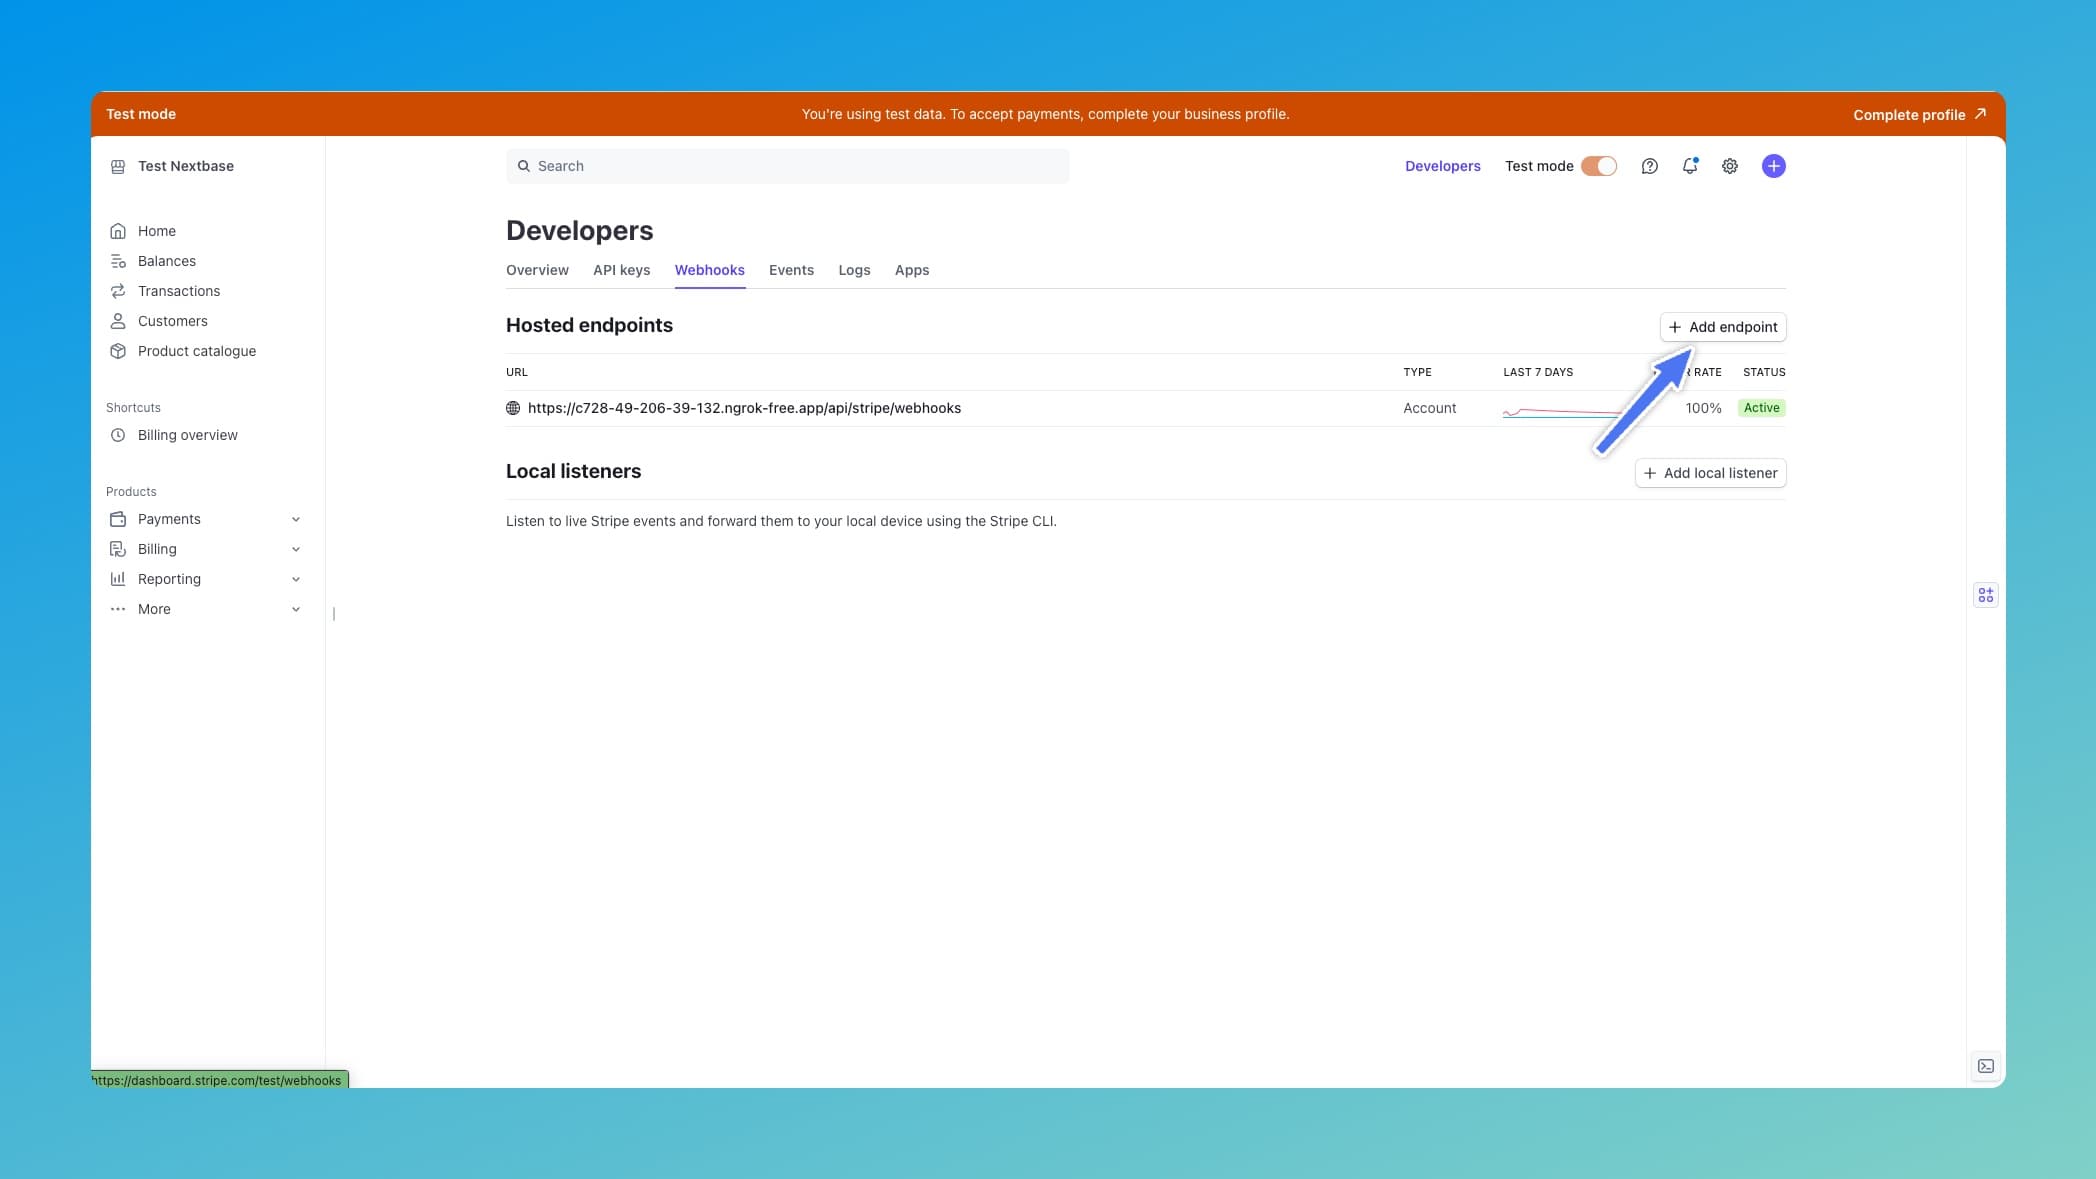
Configuring Webhooks
Set up your webhook endpoint in the Stripe dashboard:
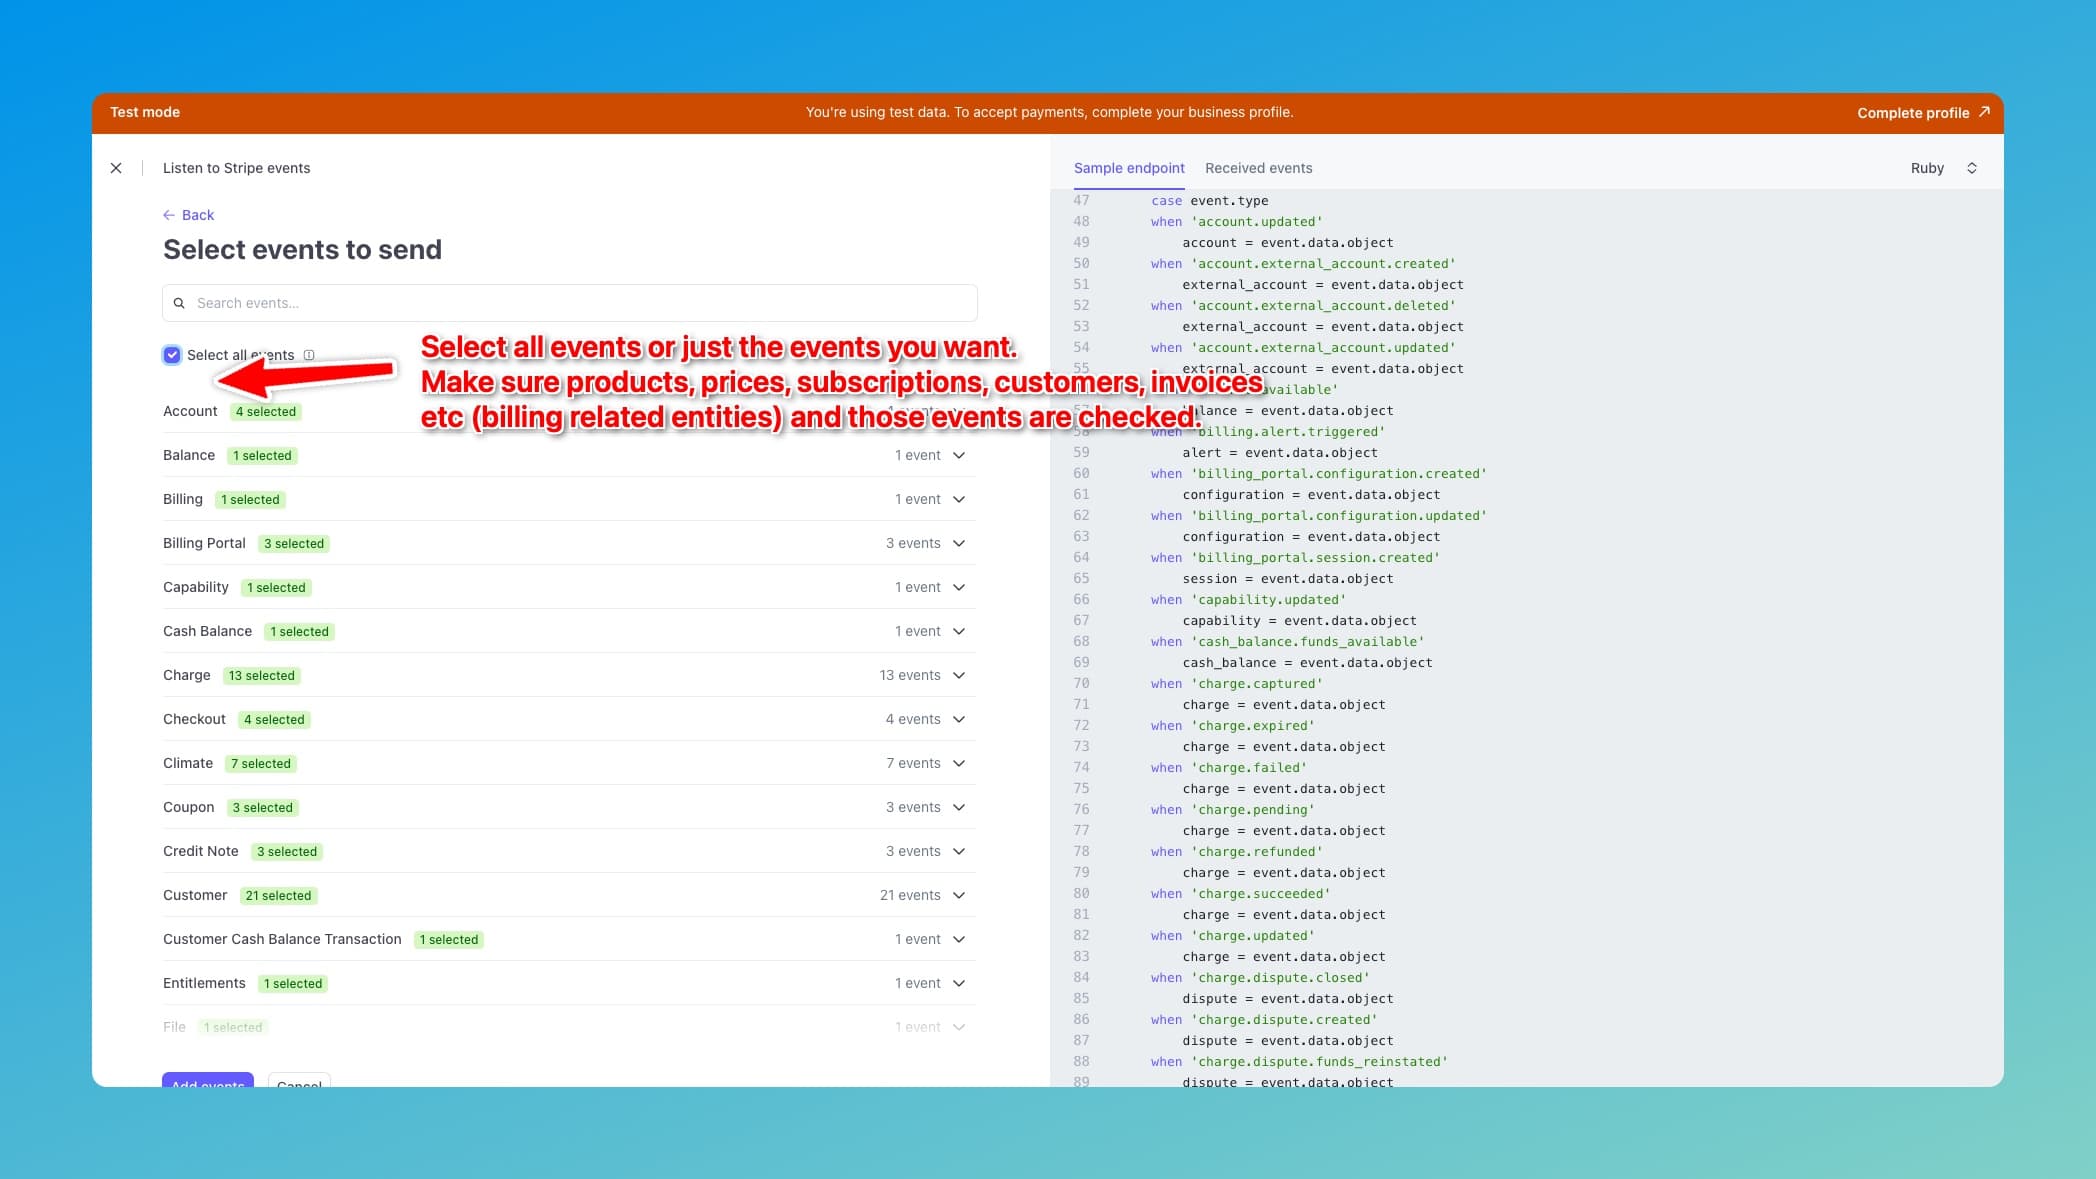
Select the events you want to listen for:
Add your endpoint URL:
Workspace subscriptions flow
Webhooks need to be set up in Stripe before you can see the subscription purchase flow. That is because the subscription details are synced from Stripe to the application via webhooks. If webhooks are not setup, then even after billing is done, the subscription details will not be synced to the application.
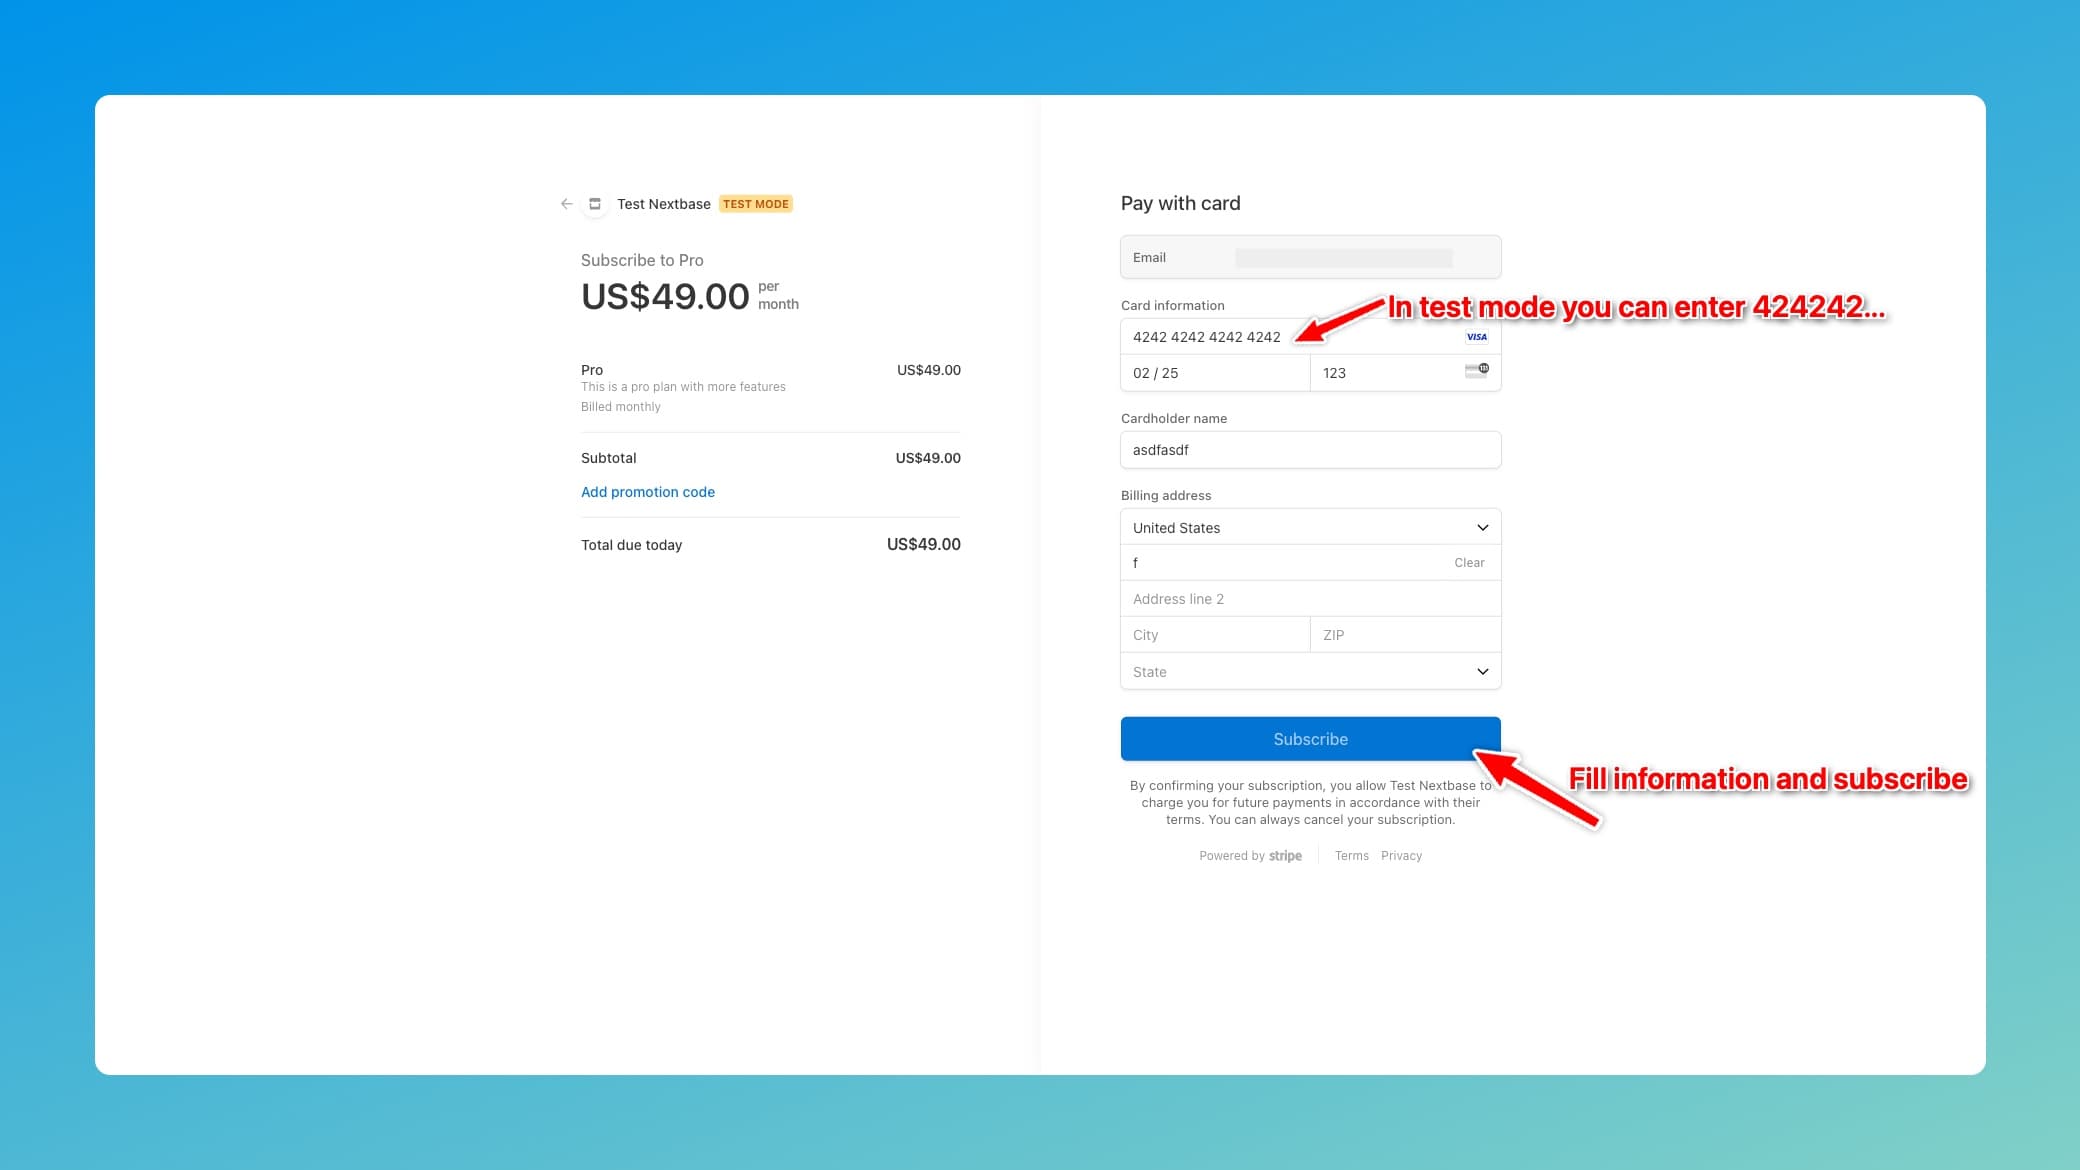
Here's how the subscription purchase process looks:
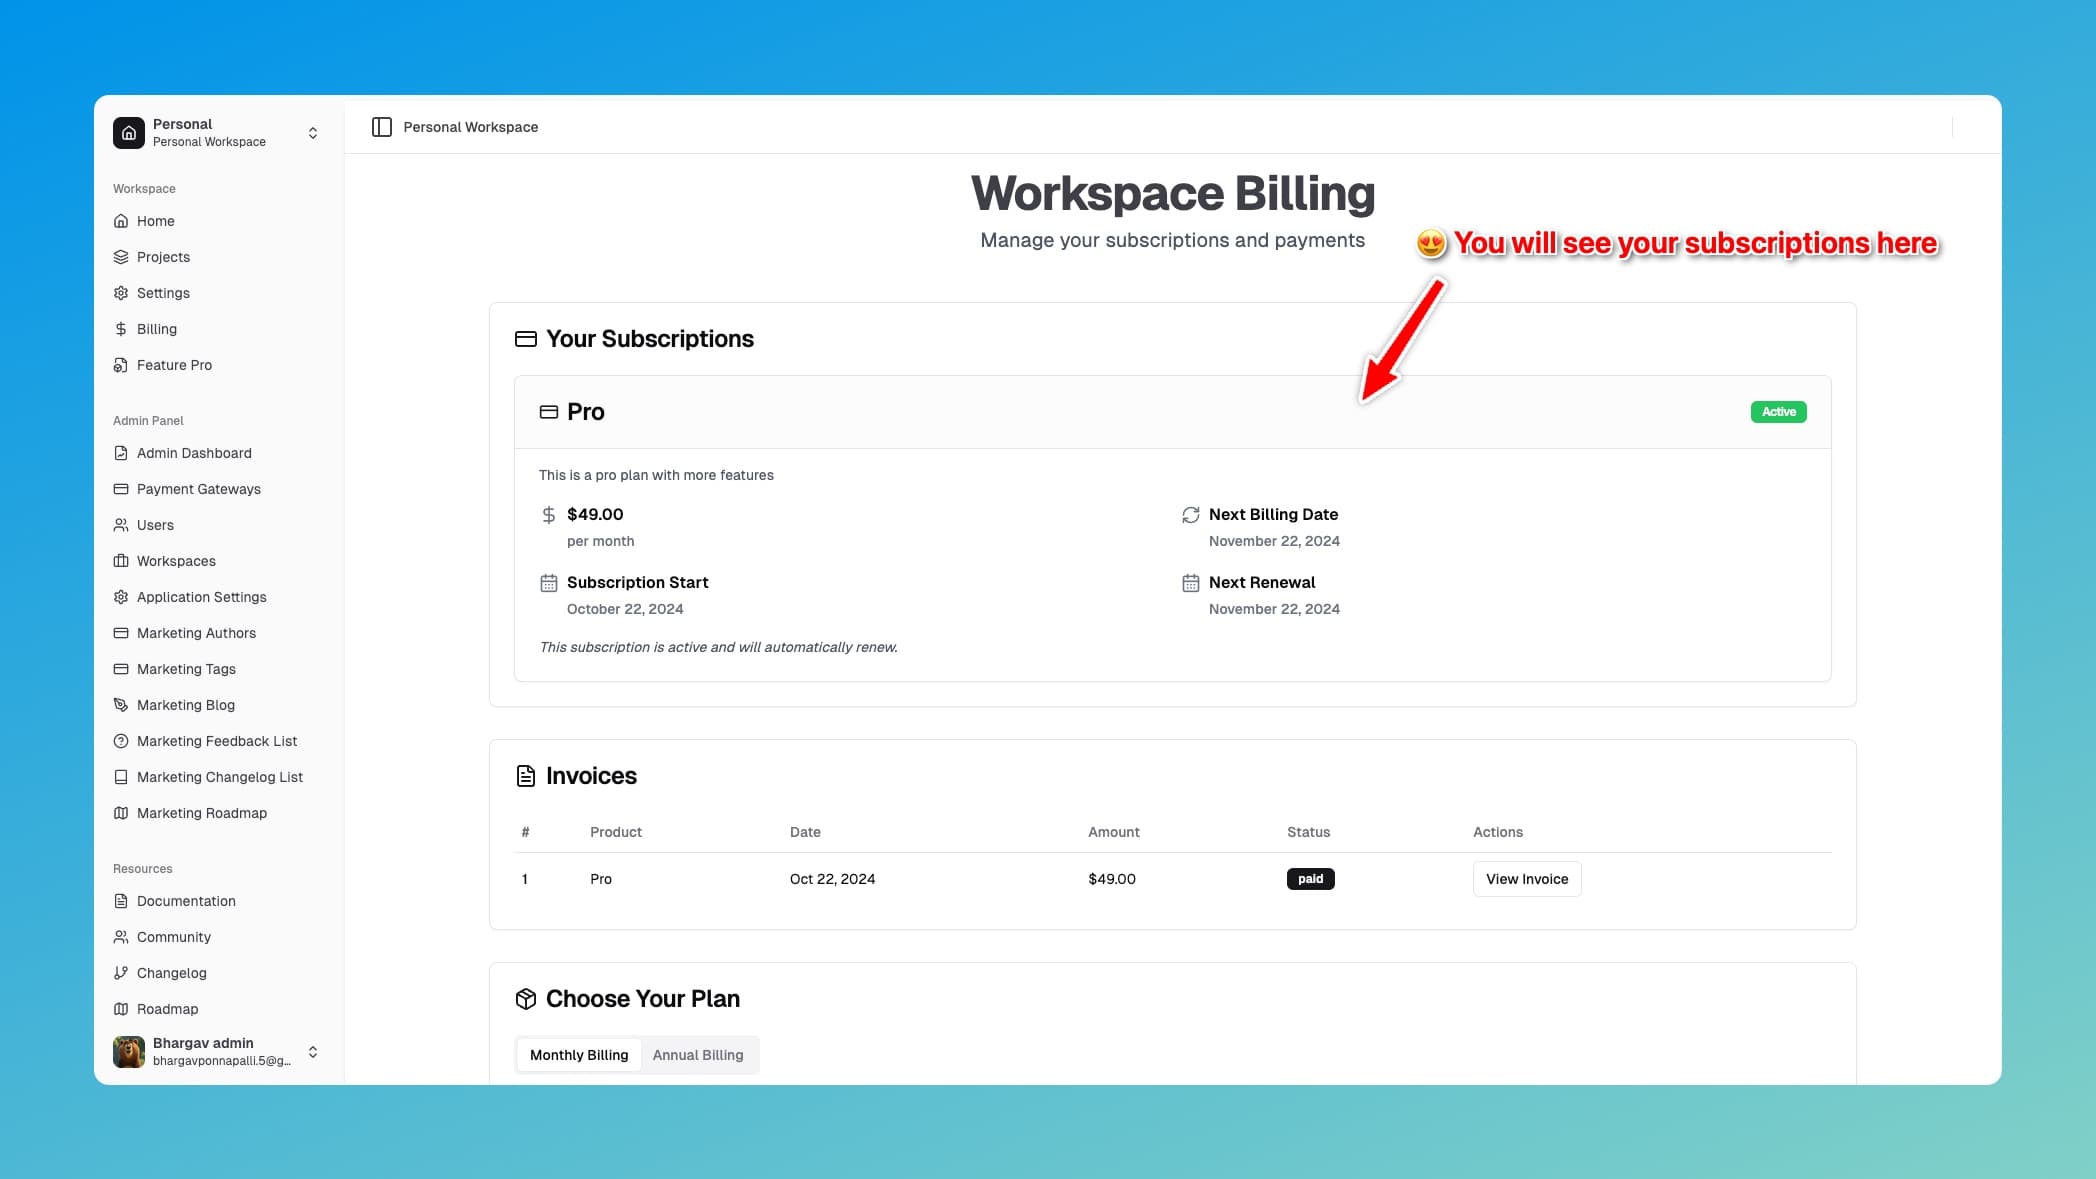
And the subscription card after purchase:
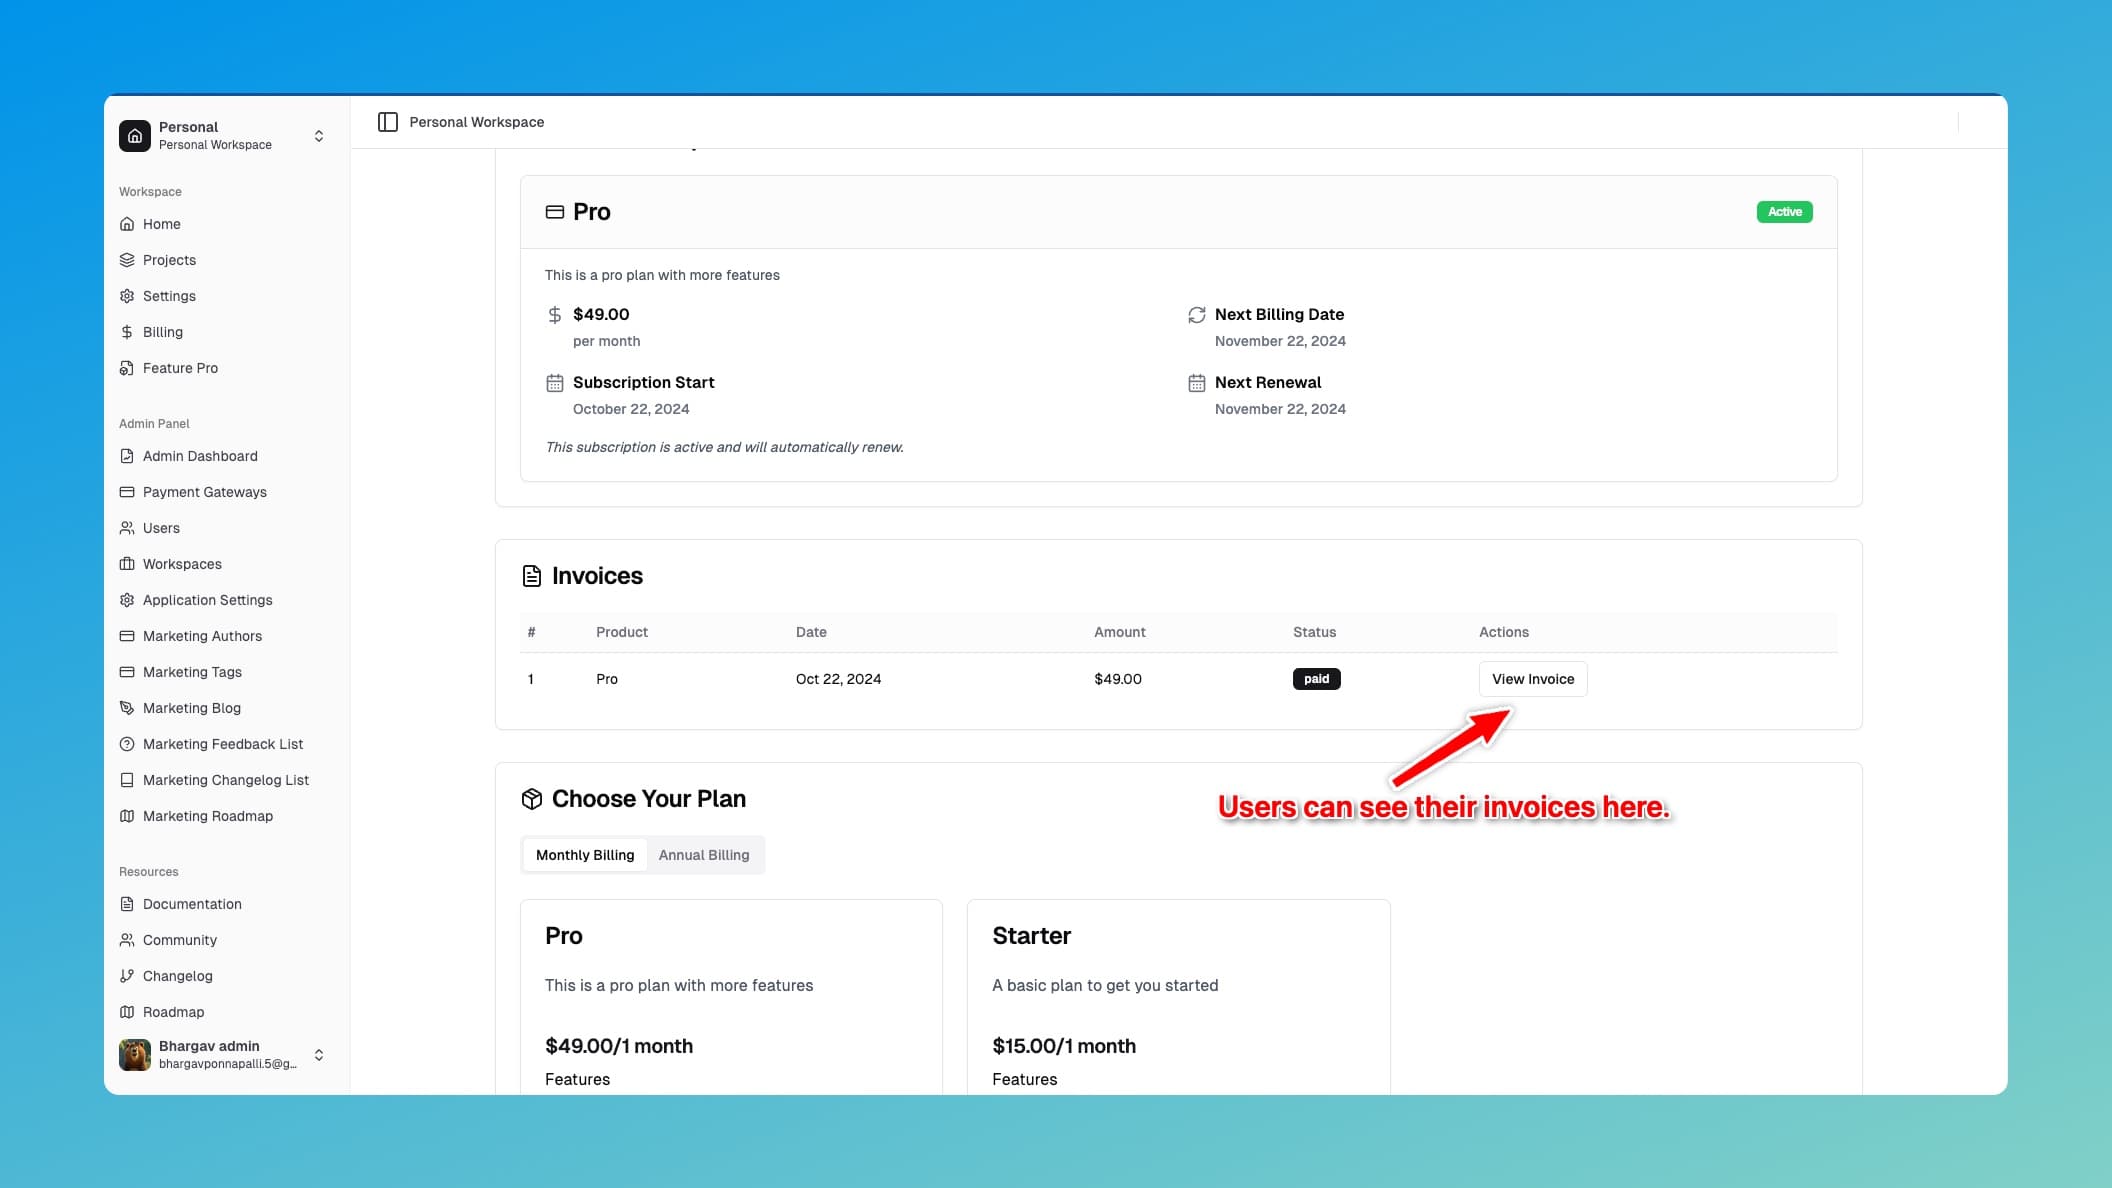
Users can view invoices:
And make one-time payments:
Admin panel - Monitoring and Metrics
Keep track of your payment metrics in the admin panel:
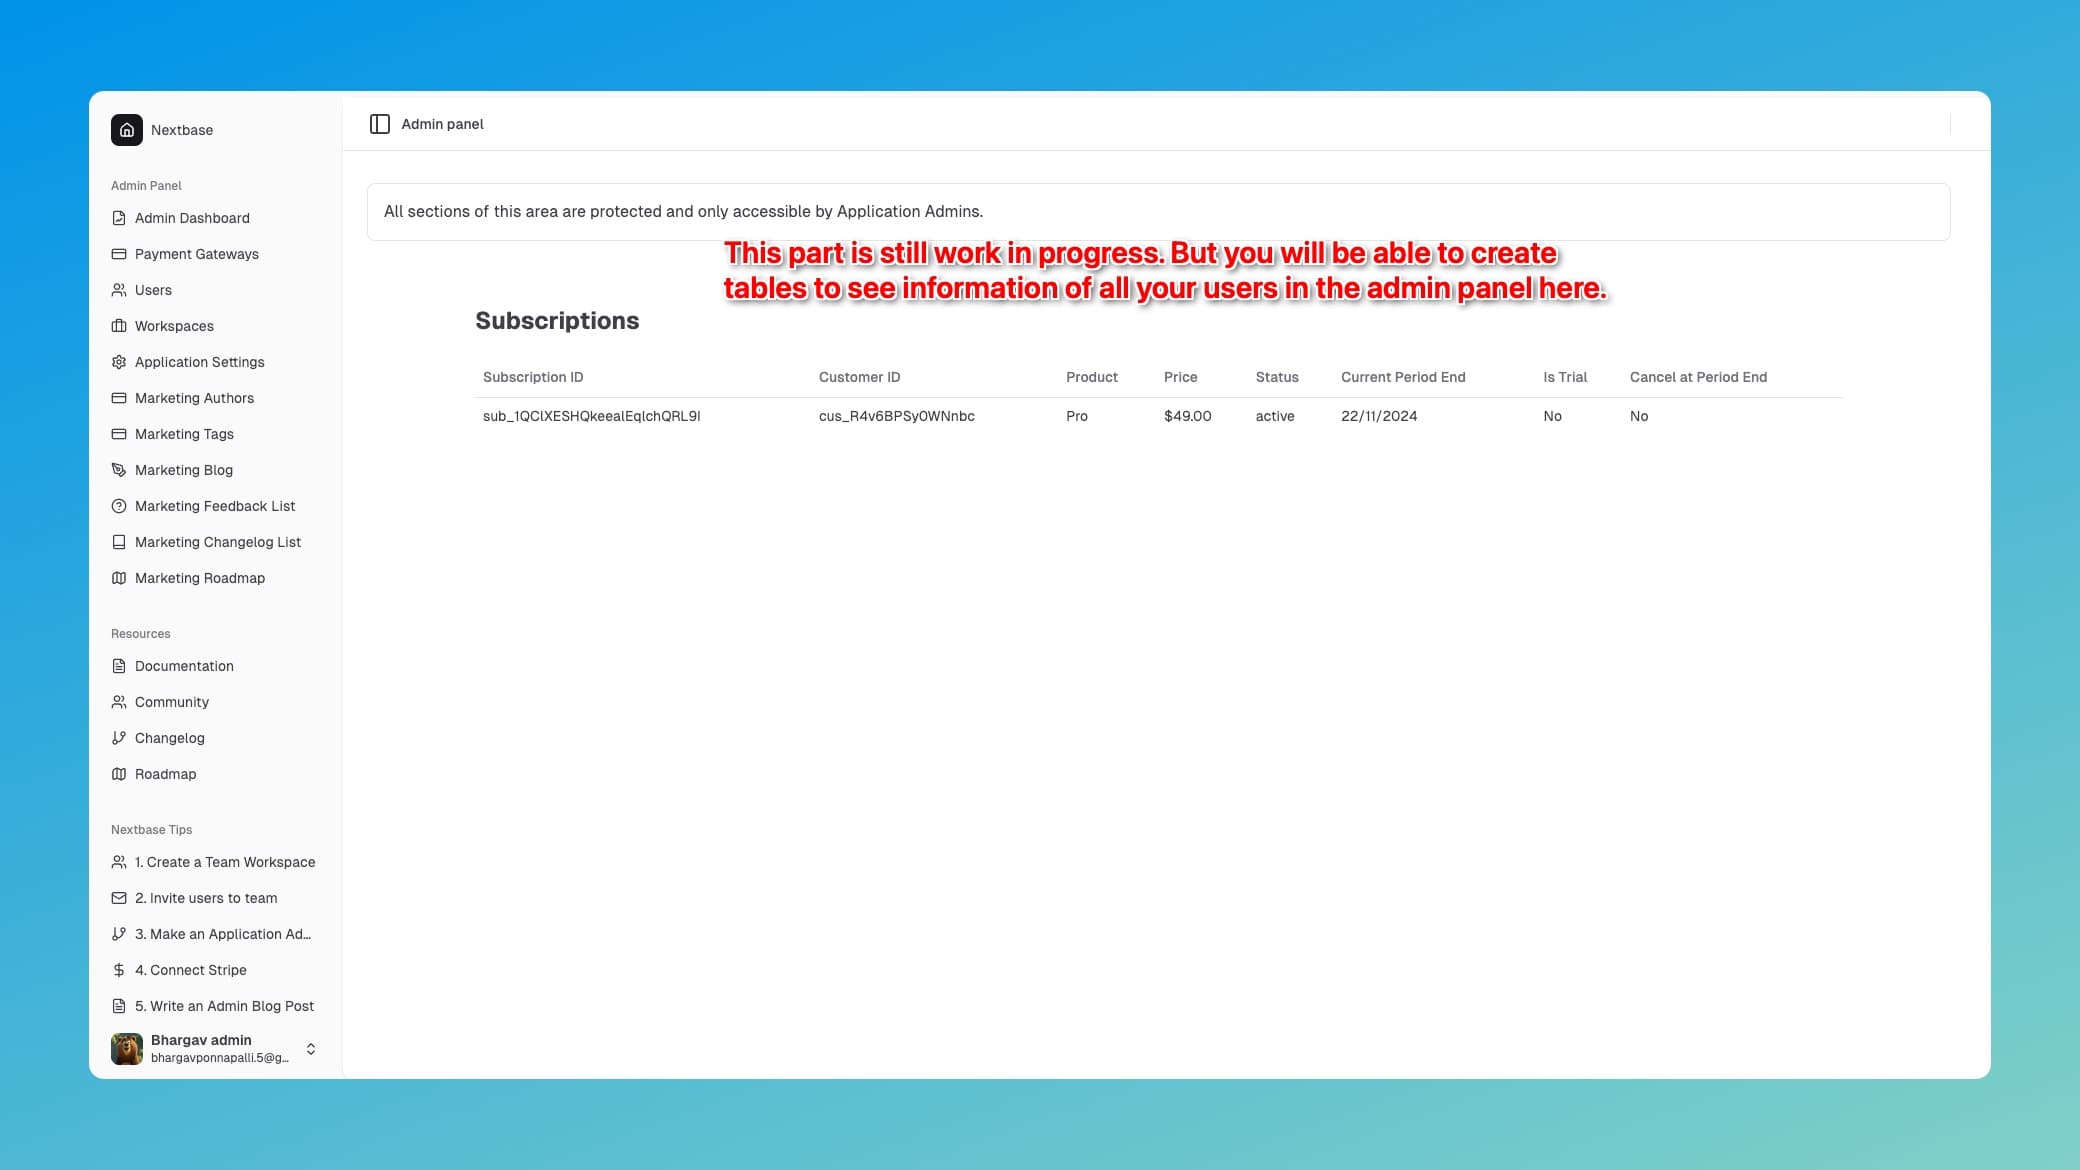
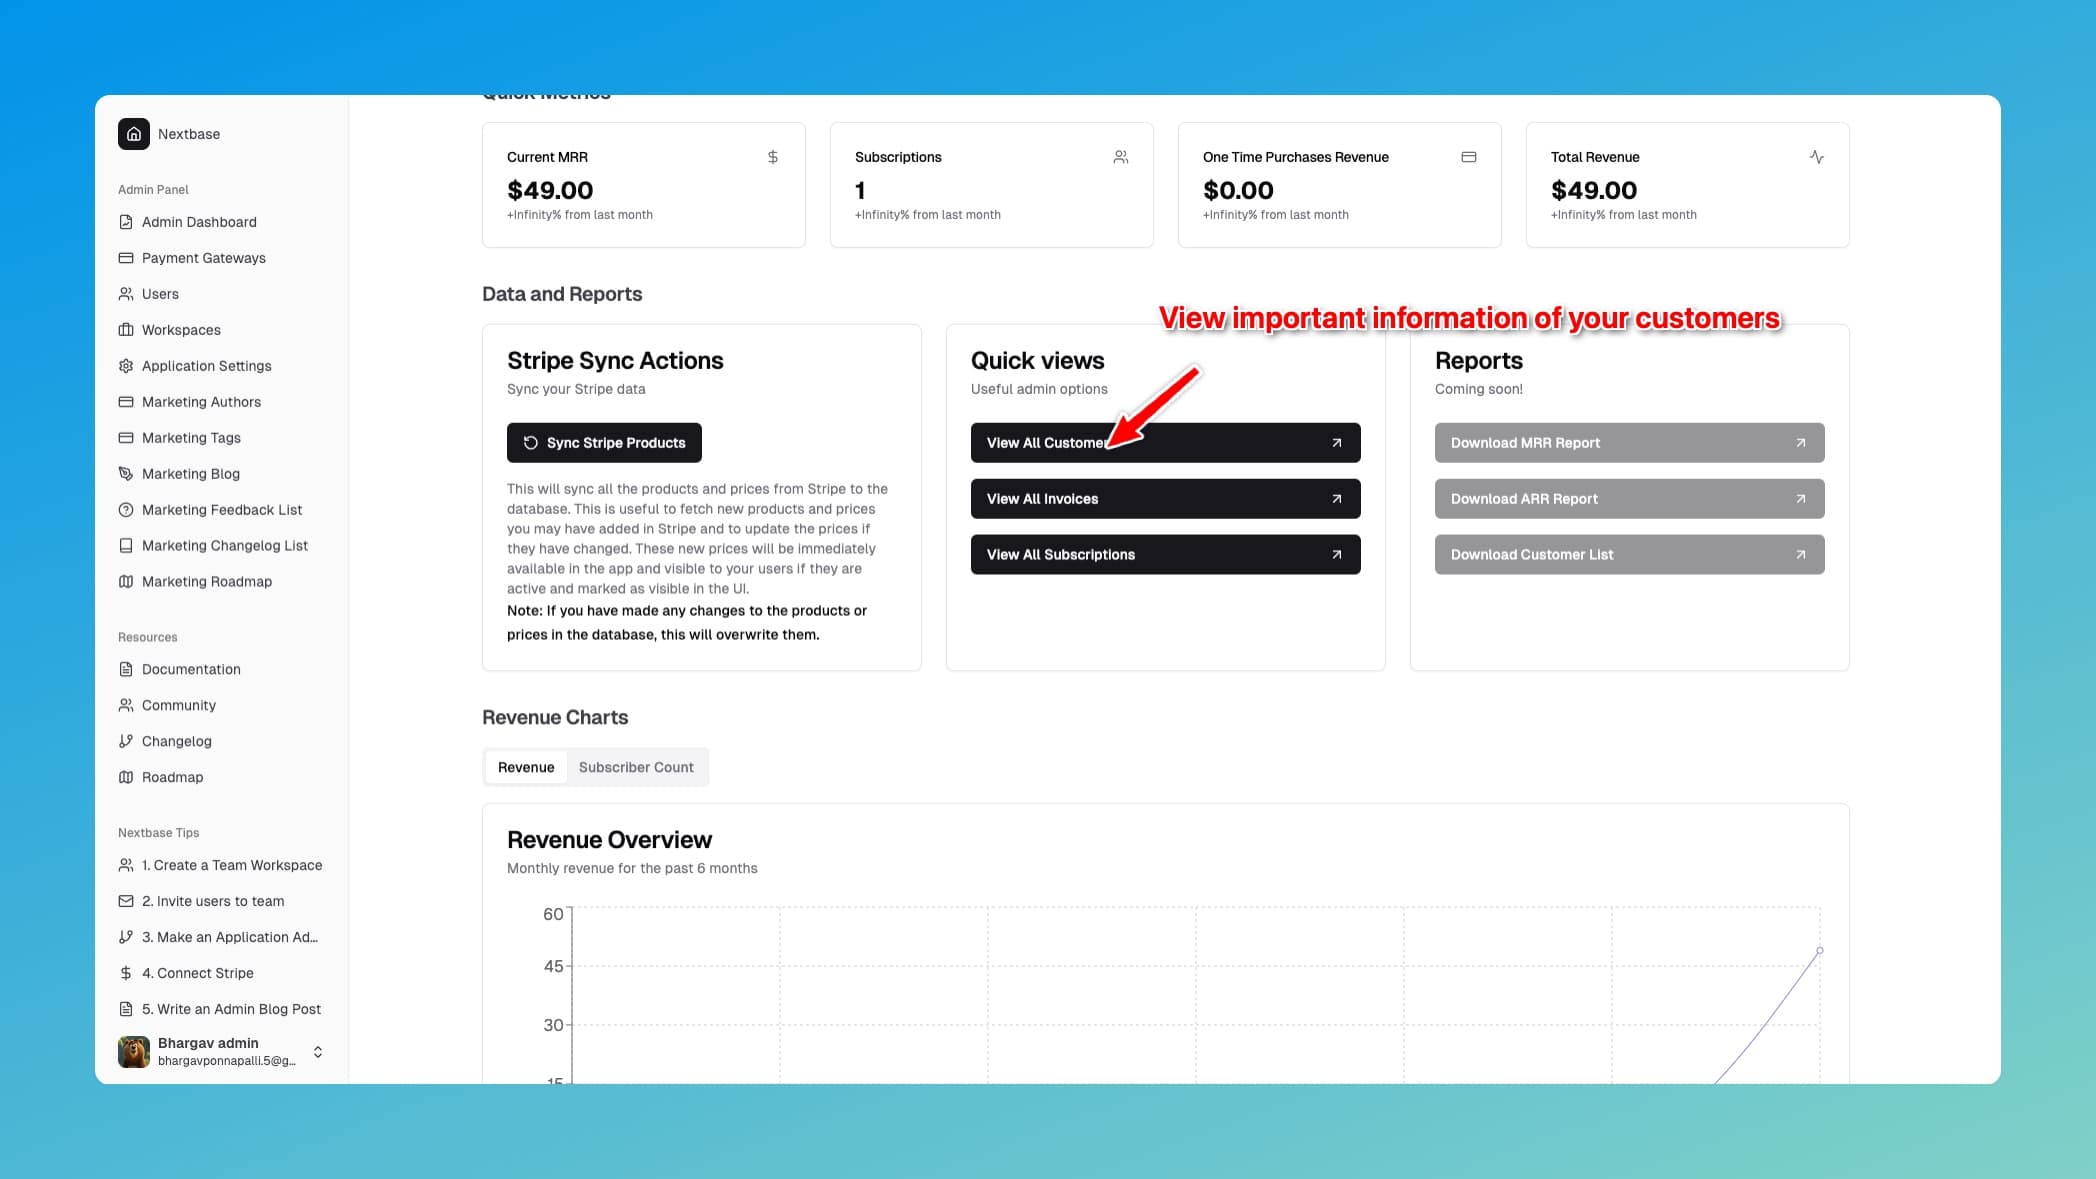
You can view customers, subscriptions and invoices details from the admin panel.
[WIP] Once set up in Stripe, your products will be visible in the admin panel:
