API Key Authentication with Unkey
Nextbase Ultimate comes with unkey configured.
Why use Unkey?
- Unkey is a service that allows you to create API keys for your users.
- It allows you to create API keys for your users without having to store them in your database.
- It allows you to revoke API keys for your users without having to update your database.
- Keys can be created for limited time periods too.
- The keys can then be used to authenticate your users to your API endpoints.
- Usage with Zapier, Make and Integromat are also now easy.
Configuring unkey
- Necessary env variables that you need for Unkey after creating an account there
UNKEY_ROOT_KEY = UNKEY_ROOT_KEY;
UNKEY_API_ID = UNKEY_API_ID;
1 UNKEY_ROOT_KEY:
This variable likely represents the root key associated with Unkey. It may be used for specific administrative or configuration purposes within Unkey.
2 UNKEY_API_ID:
This variable seems to be associated with an API ID in the context of Unkey. It may serve as an identifier for your Unkey API integration.
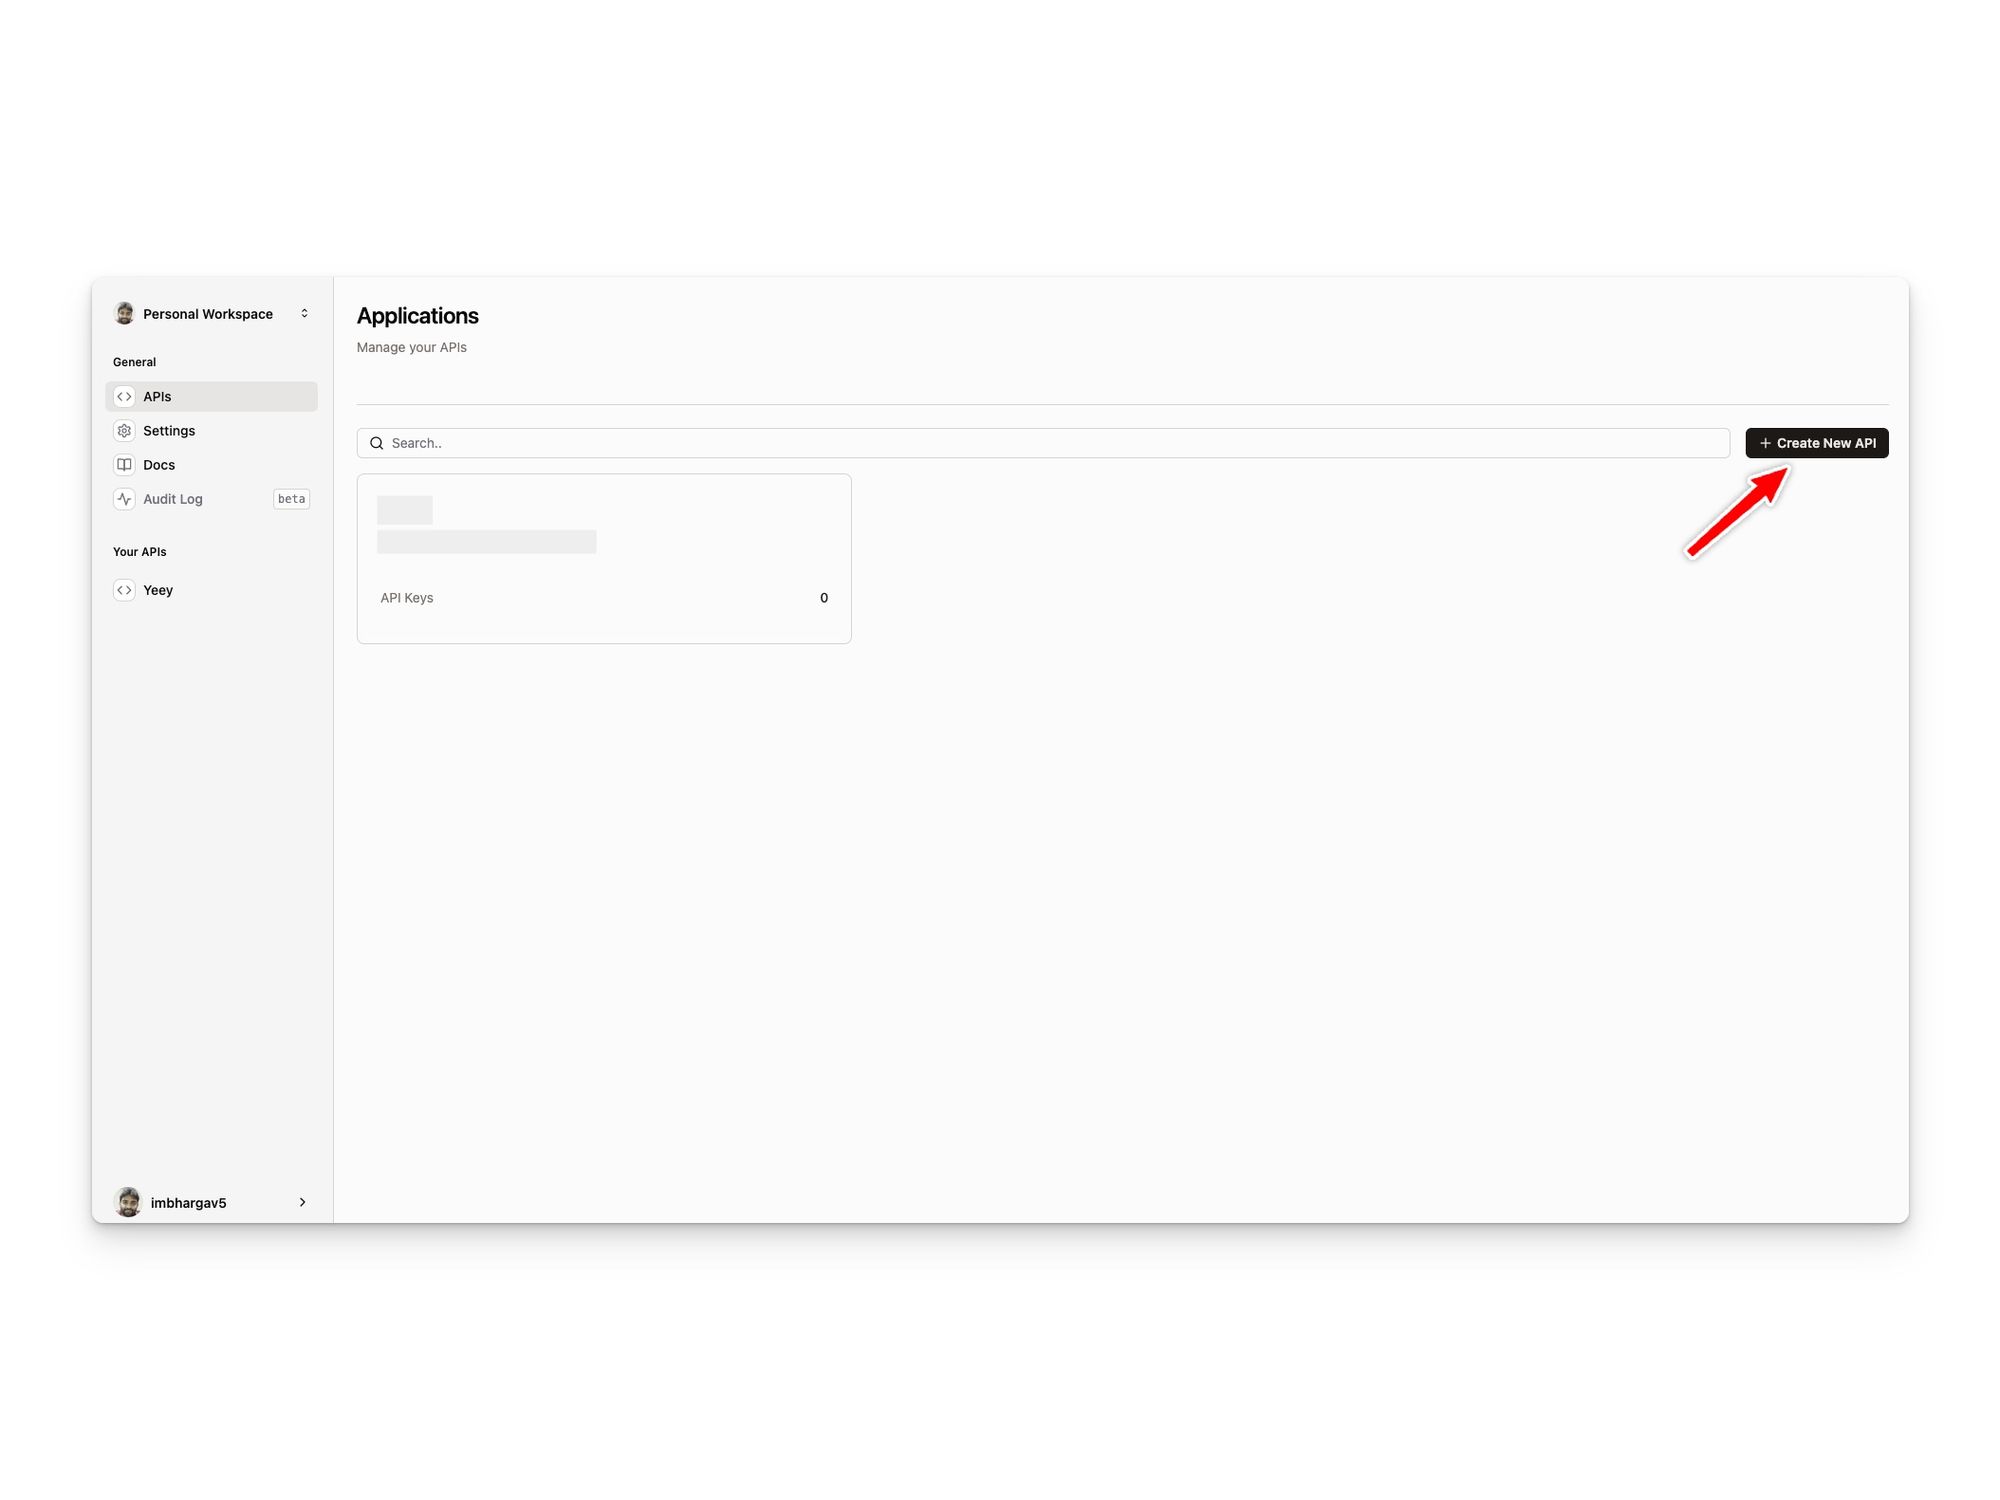
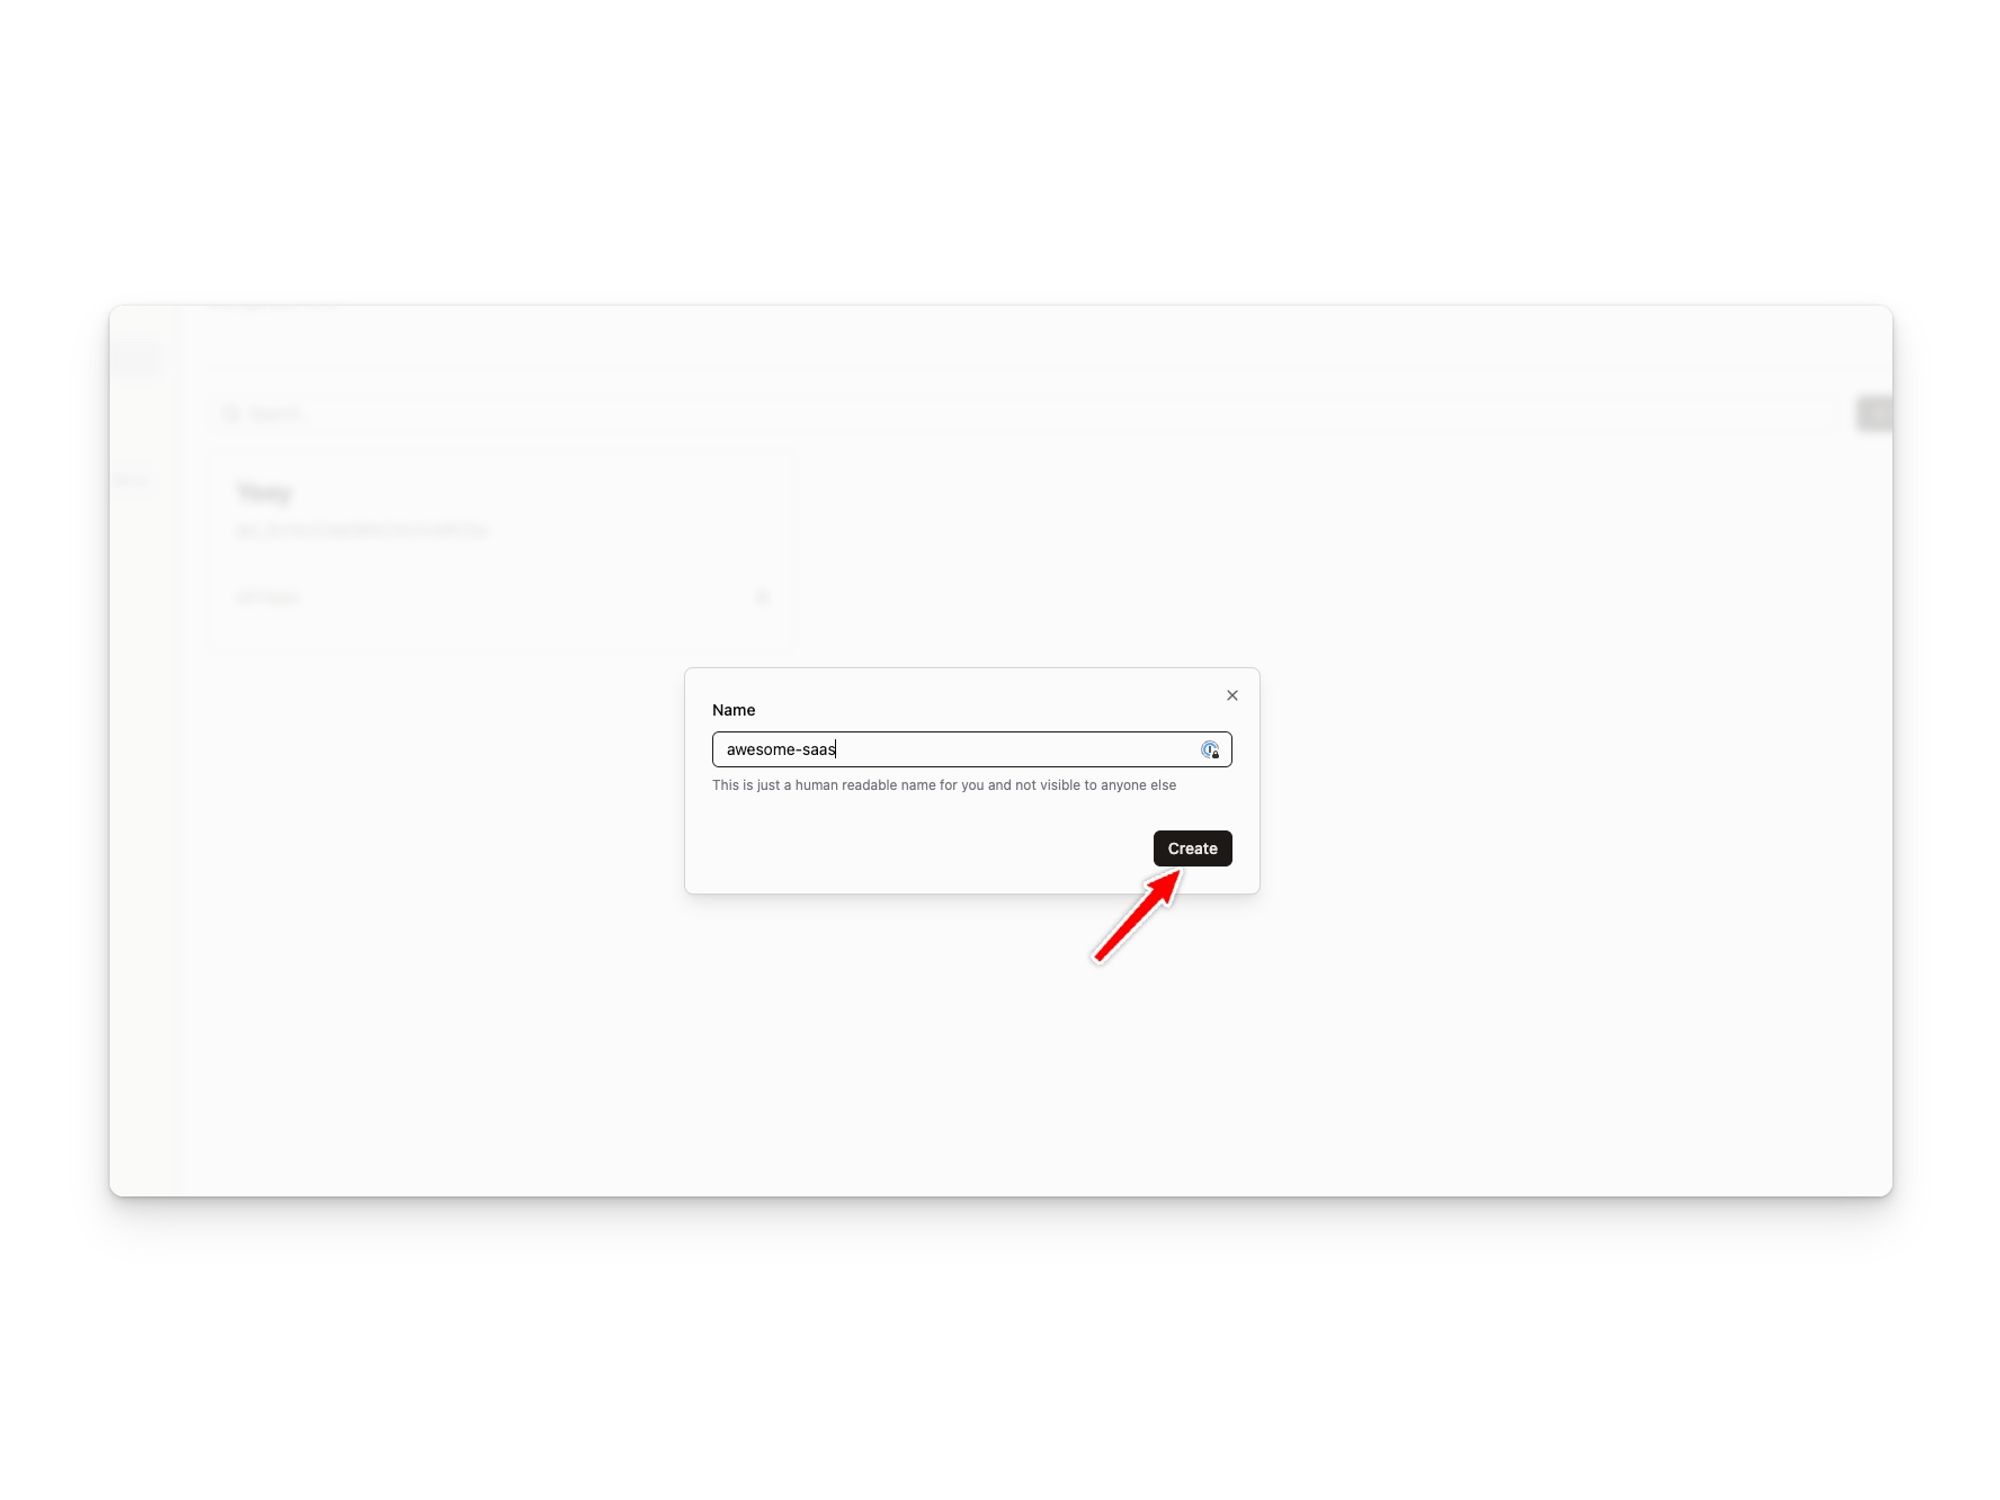
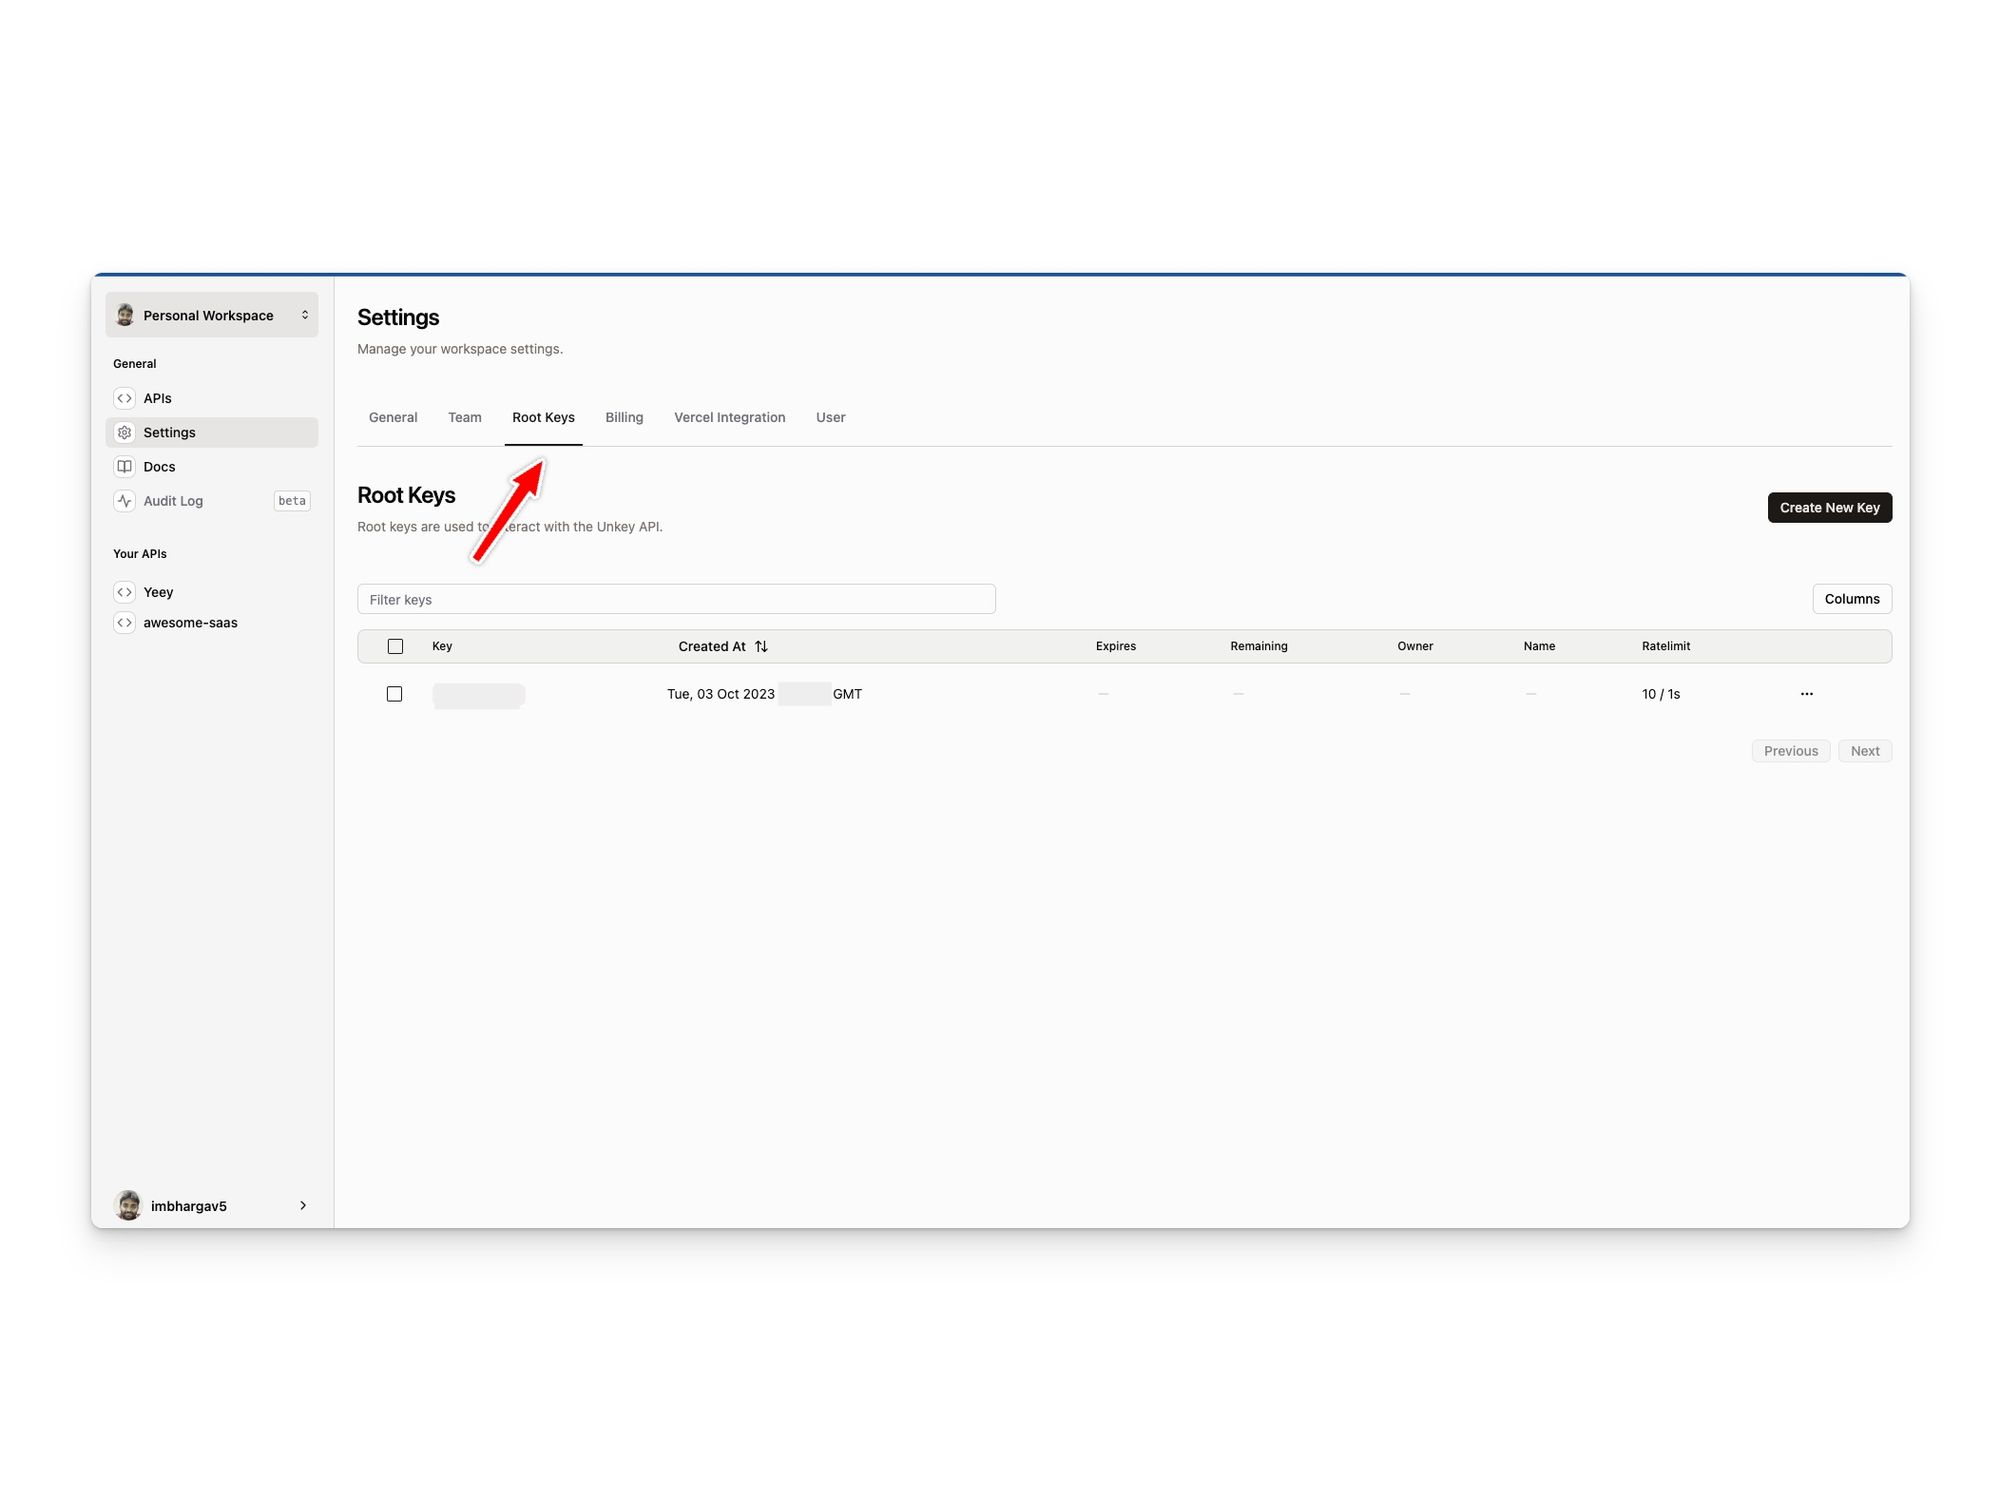
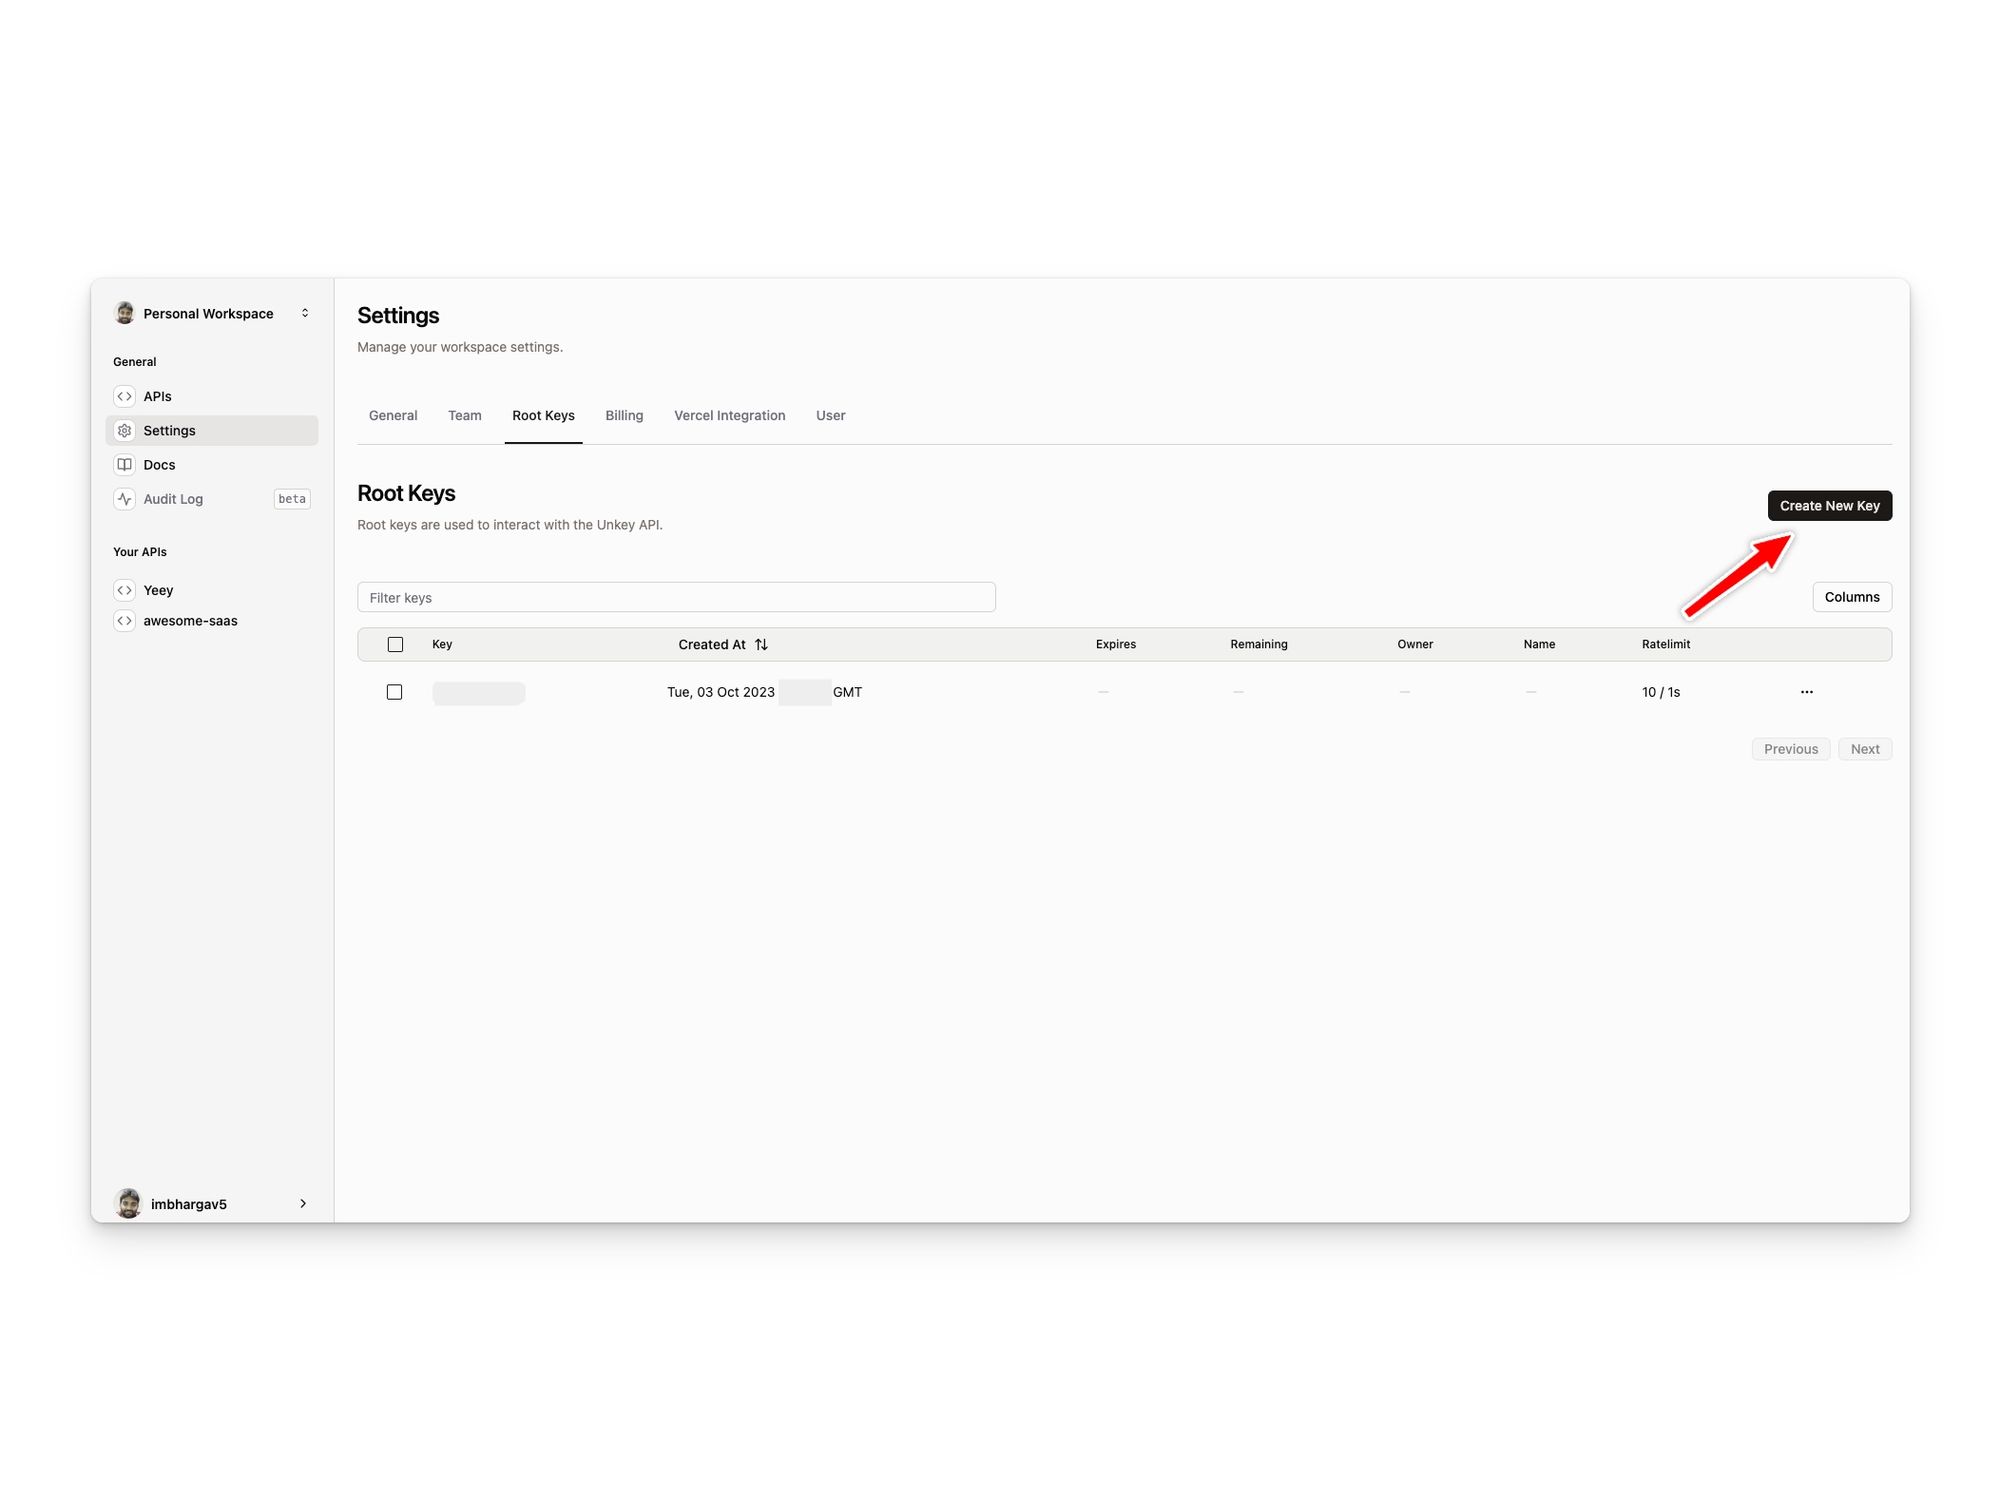
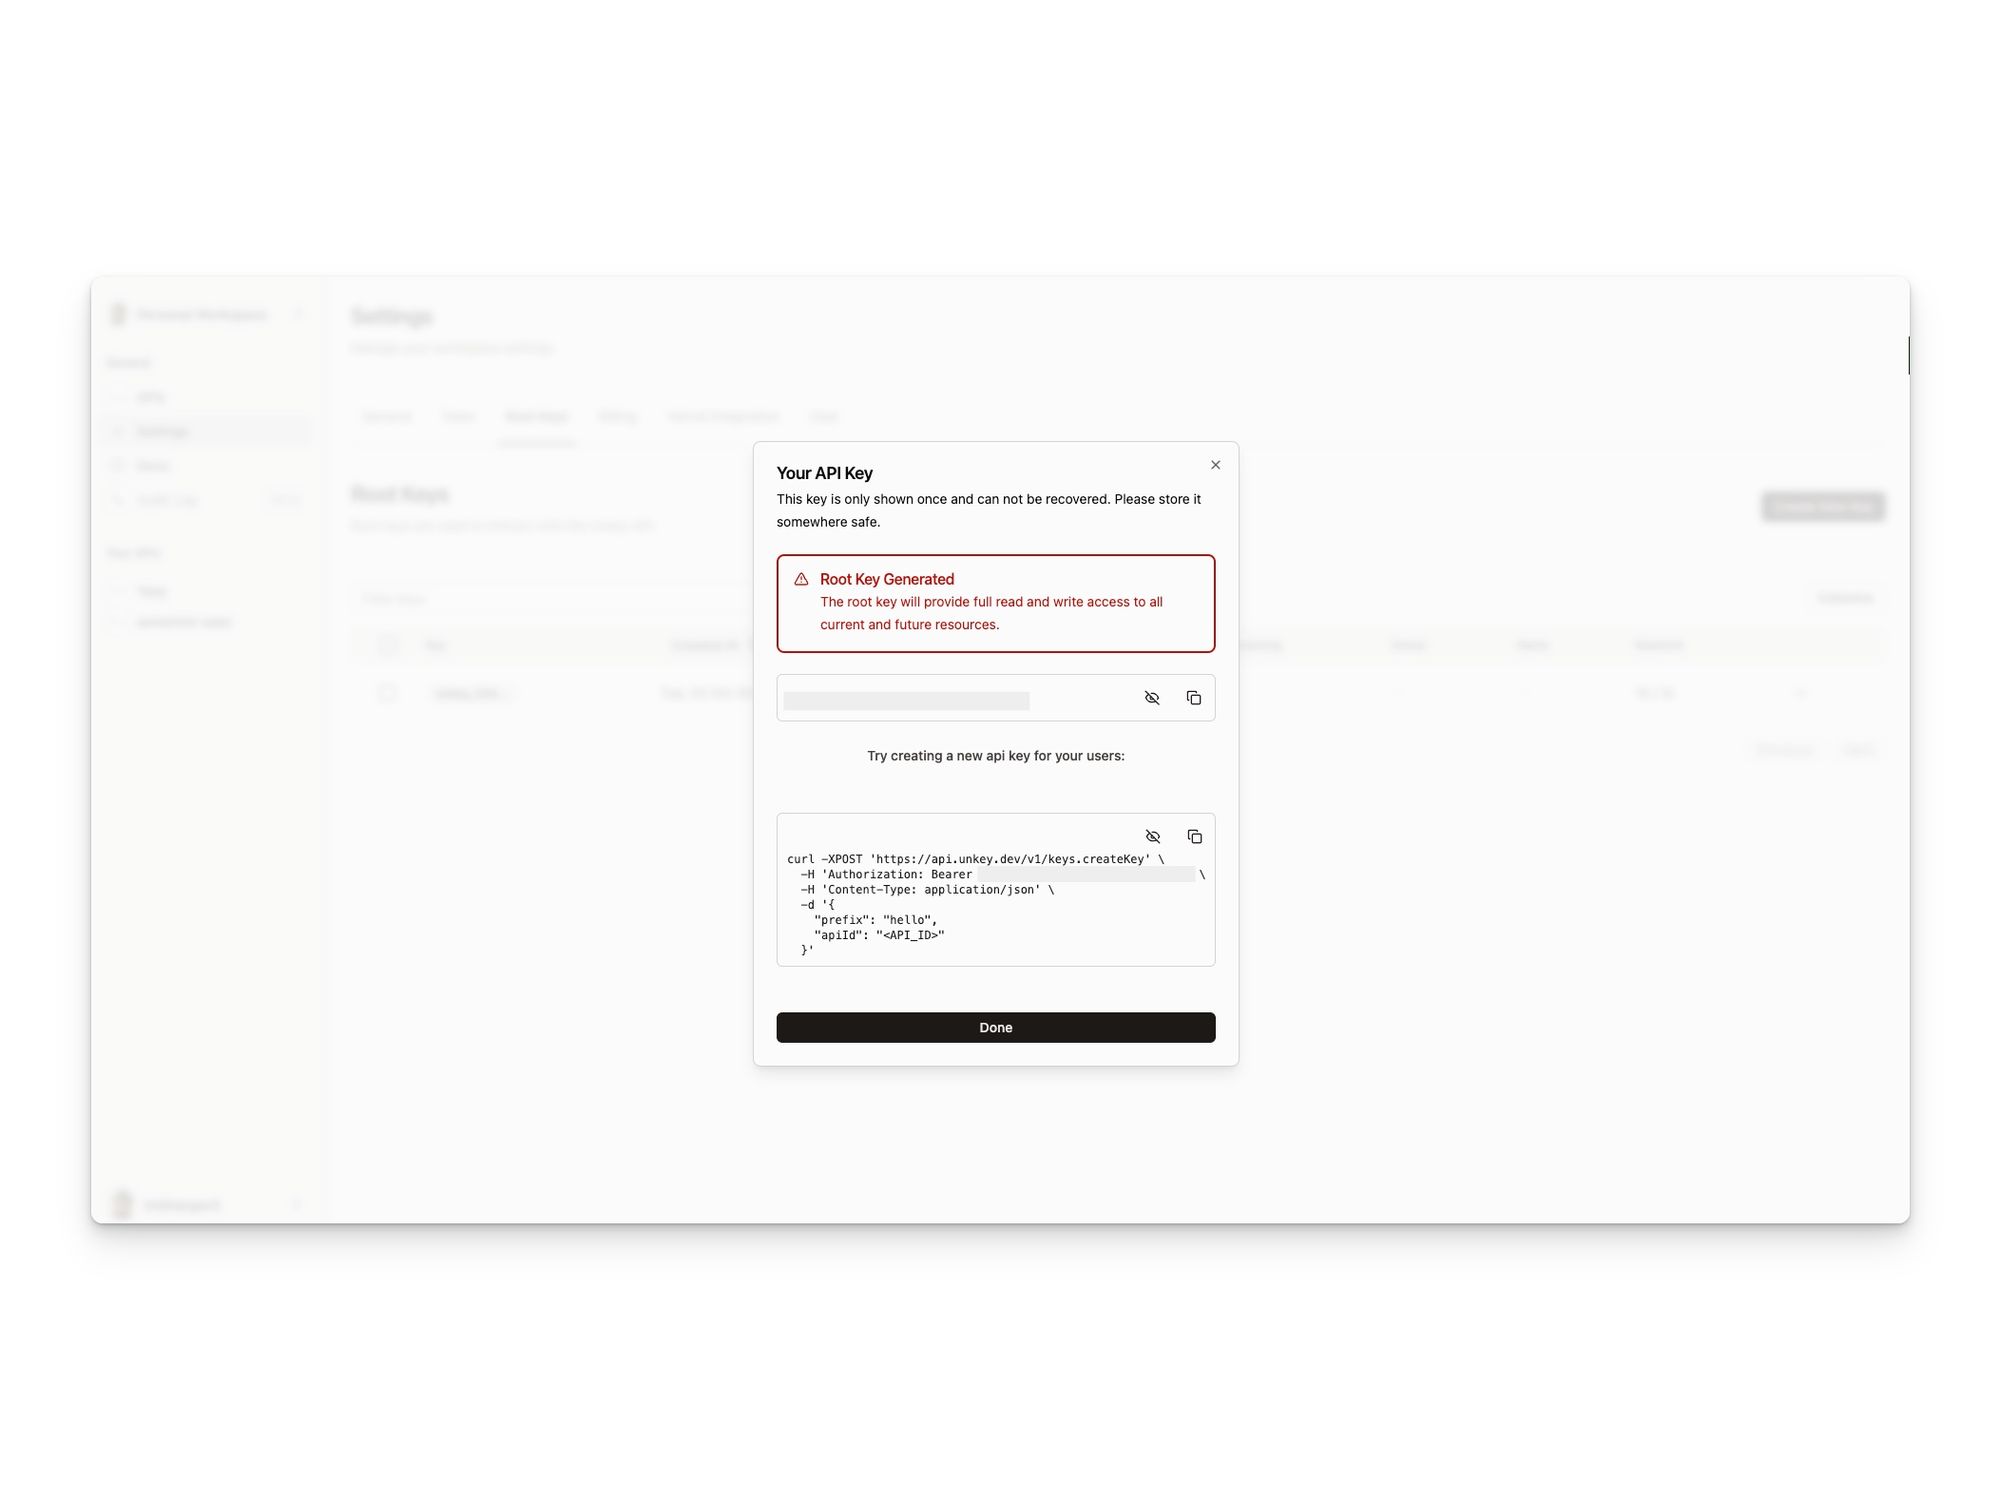
Steps for creating Unkey Root key

Creating an route handler which can be used with api key auth
- Import Unkey Middleware
Import the
withUnkeyAuthmiddleware from the Unkey package at the beginning of your route handler file.
// Example: Importing Unkey middleware in a route handler
import { withUnkeyAuth } from 'unkey';- Implement the Route Handler Create your route handler logic, ensuring that it includes the withUnkeyAuth middleware. This middleware handles the API key authentication process.
// Example: Creating a route handler with API key authentication
import { withUnkeyAuth } from 'unkey';

export default withUnkeyAuth(async (req, res) => {
  // Your protected route logic goes here
  res
    .status(200)
    .json({ message: 'Authenticated route accessed successfully!' });
});
Now, this route handler is protected, and only requests with valid API keys will be allowed to access it.
By following these steps, you can configure Unkey and create route handlers with API key authentication in your Nextbase project, ensuring secure and authenticated access to your protected routes.
Disabling unkey
To disable Unkey, you can either remove its middleware from your route handlers or adjust your configuration to bypass Unkey authentication.
Removing Unkey Middleware
In your route handler files, look for the import statement that includes Unkey middleware and remove or comment out the line.
// Example: Removing Unkey middleware in a route handler
// import { withUnkeyAuth } from 'unkey';

export default async (req, res) => {
  // Your route logic goes here without Unkey middleware
  res.status(200).json({ message: 'Unprotected route accessed successfully!' });
};
Exposing routes which can be used with API key auth
To expose routes with API key authentication, follow these steps:
1. Import Unkey Middleware
In your route handler files, import the Unkey middleware (withUnkeyAuth) at the beginning of the file. This middleware will handle the API key authentication process.
// Example: Importing Unkey middleware in a route handler
import { withUnkeyAuth } from 'unkey';
2. Use Unkey Middleware in Route Handlers
Apply the Unkey middleware to the routes you want to expose with API key authentication. Wrap your route handler logic with withUnkeyAuth:
// Example: Using Unkey middleware in a route handler
import { withUnkeyAuth } from 'unkey';

export default withUnkeyAuth(async (req, res) => {
  // Your protected route logic goes here
  res
    .status(200)
    .json({ message: 'Authenticated route accessed successfully!' });
});
By applying withUnkeyAuth to a route handler, you ensure that the route is protected and requires a valid API key for access.
(Bonus): Usage with Zapier
Since API key auth is now built in to Nextbase, configuring Zapier, Make or Integromat is now easy.
Zapier guide coming soon.
TODO